Today was supposed to be a Professional Day for my daughter so I had planned for us to do a few Christmas crafts during the day. It turned out the whole family stayed home sick, so the activities were less organized and a bit more chaotic than I had envisioned.
We kicked the day off with a much more elaborate pixy/ elf scenario than the previous days. He was working on his own craft project – decorating the lights.

It definitely got the kids attention. There were lots of questions about how he got up in the light, what he was doing, and how he got up there himself? My son kept repeating “we have to solve the mystery!” I see why parents go to the effort of Elf on the Shelf. The kids loved it. It filled their heads with Christmas magic scenarios and started the day off with some joy.
I had three Christmas crafts planned for the day, but we only ended up having time to start two of them. We may get to the third one this weekend.
Craft 1: Salt Dough Ornaments
This was my first time making salt dough and it turned out okay, but was not quite as straight forward as anticipated. We are making handprint ornaments that we will paint to look like Santa faces. We made 6 so we could give some to family.
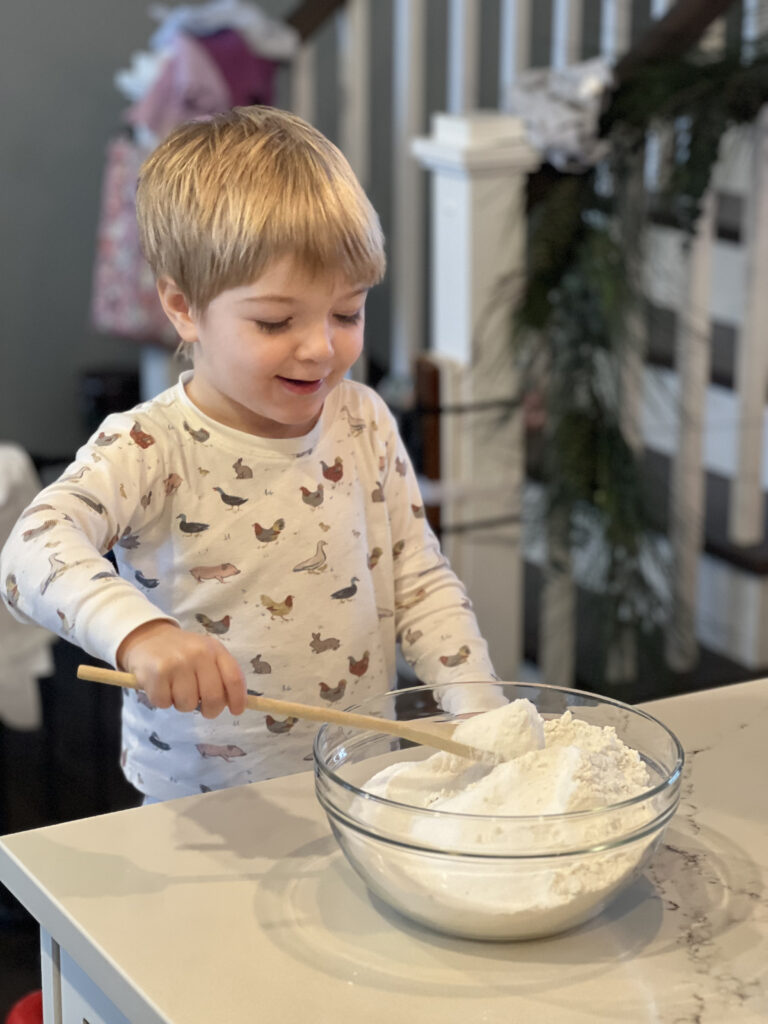
I used the typical salt dough recipe:
4 cups flour
1 cup salt
1 1/2 cups warm water
The instructions are straight forward.
- Mix dry ingredients
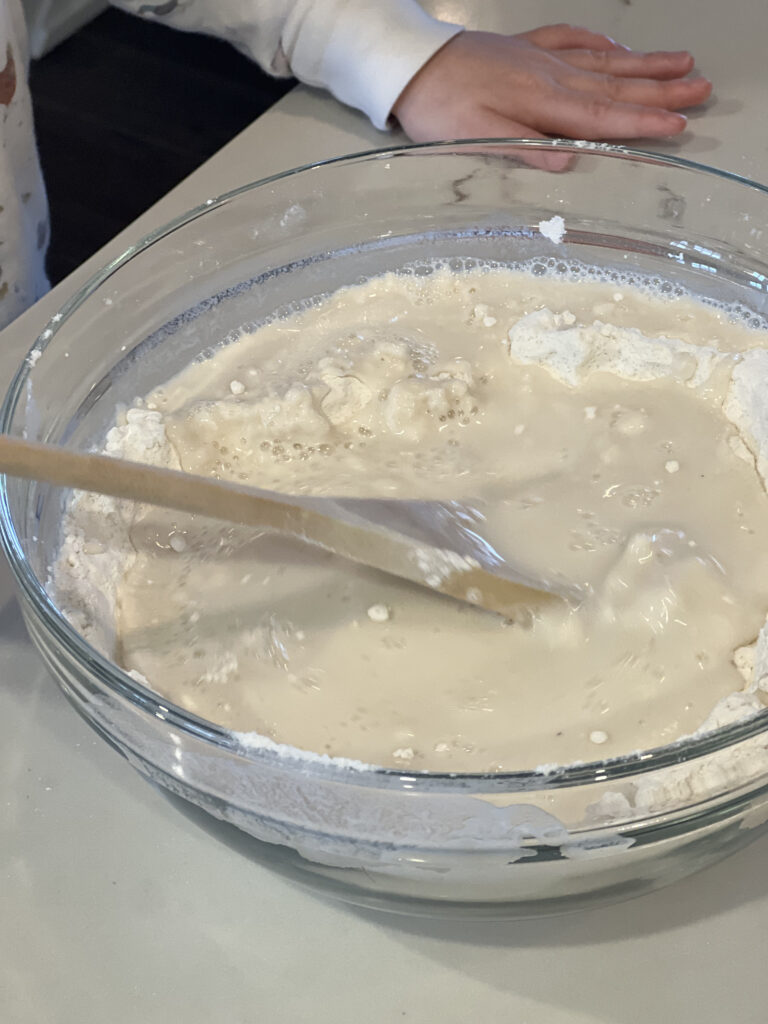
- Mix in water
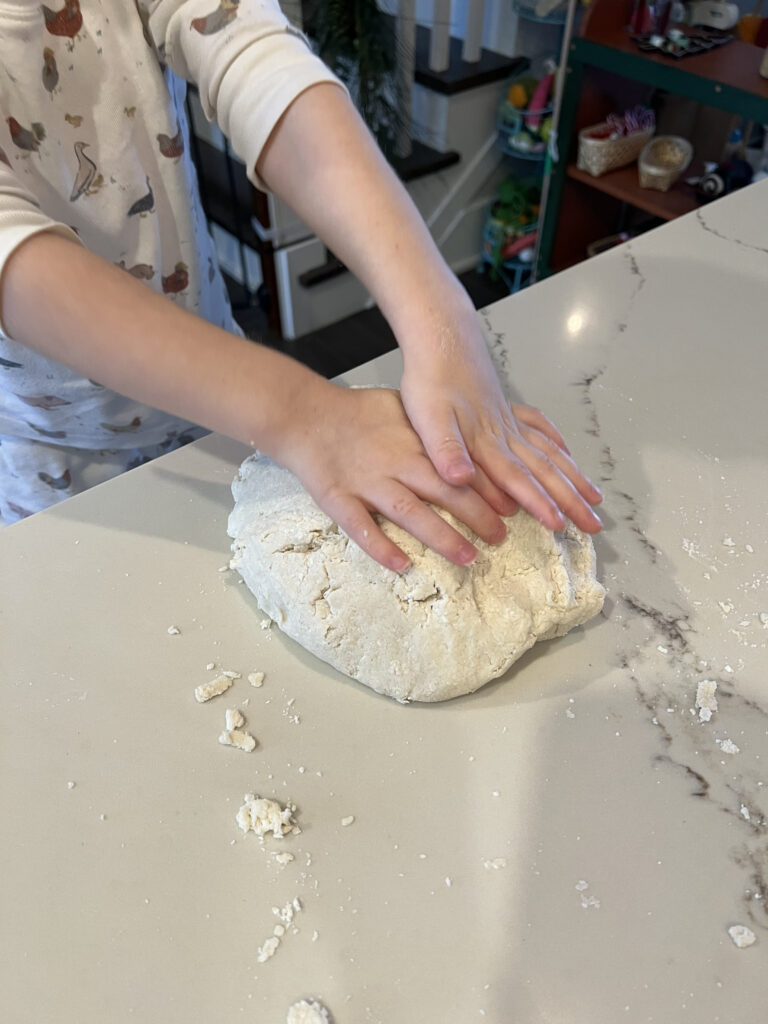
- Stir and kneed dough into a ball
- Roll dough flat (used flour on the rolling pin, but have since read that putting parchment paper over the dough and rolling it may work better)
- Press hands into dough
- Cut around hands with butter knife
- Make a hole at the top of the ornament with a straw
- Place on baking sheet lined with parchment paper
- Bake at 200 degrees F for 2 hours
Possibly because it is dry where we live, the dough was difficult to kneed together and had cracks when I tried to roll it out, so I ended up adding another 1/2 cup of water. It still cracked when I rolled it out. I probably could have added more water, but it’s my first time doing this and didn’t want to stray too far from the recipe.
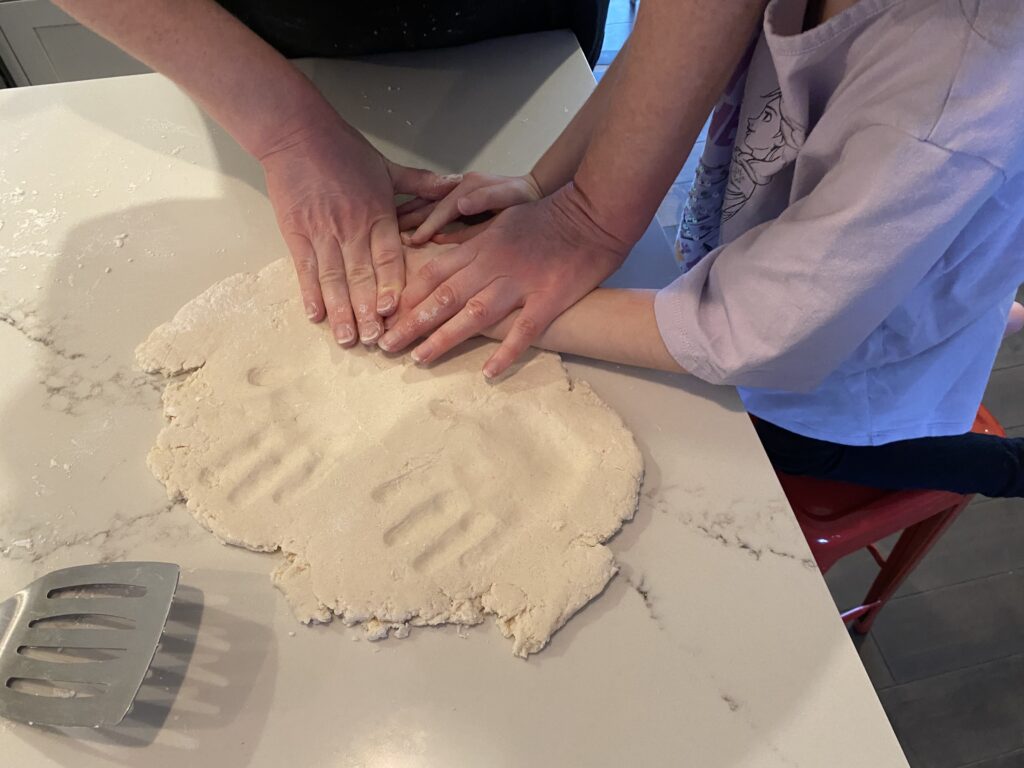
I baked them on 200 degrees F for 2 hours and the tops felt hard, but the bottoms were still dough-y. This is possibly because I made them a bit too thick, but it was difficult to make them thinner with the cracking. I decided to let them air dry for the rest of the drying process, so it may be a few more days until we can paint them.

Update
I ended up letting the ornaments sit on bakers racks for a few weeks until I was sure they were dry. My daughter and I finally got around to painting them on December 24th, just in time to give them as gifts to family members. They turned out very cute, I especially like how my daughter put eyelashes on her Santas.

Craft 2: Acrylic Wrapping Paper Ornaments
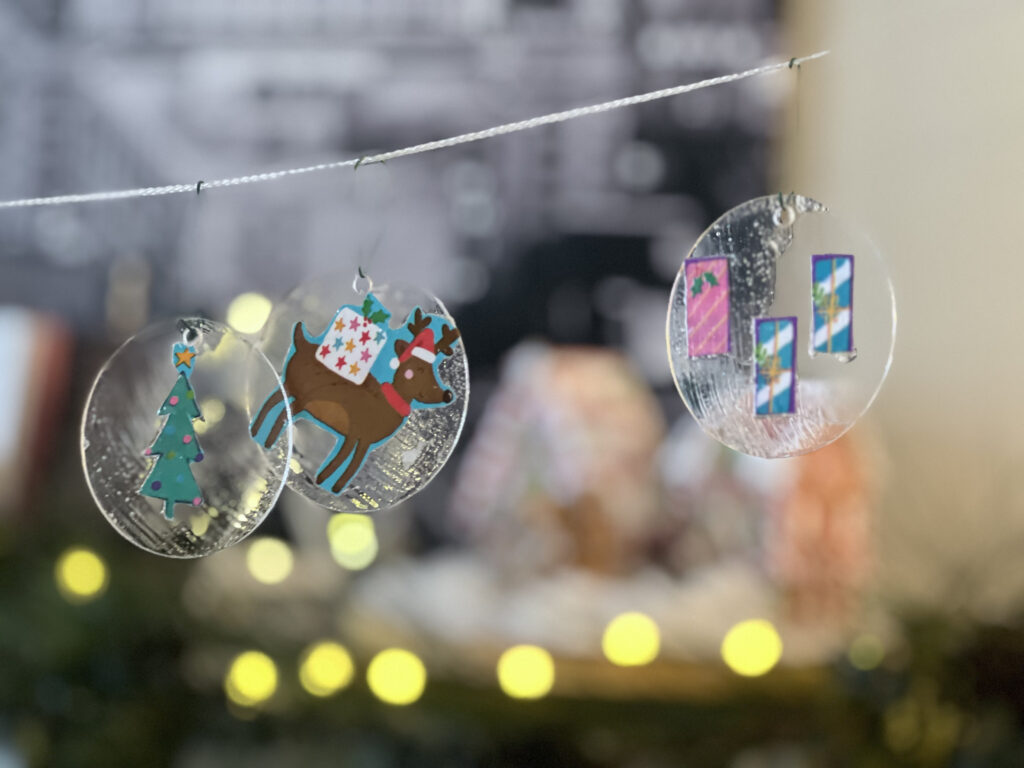
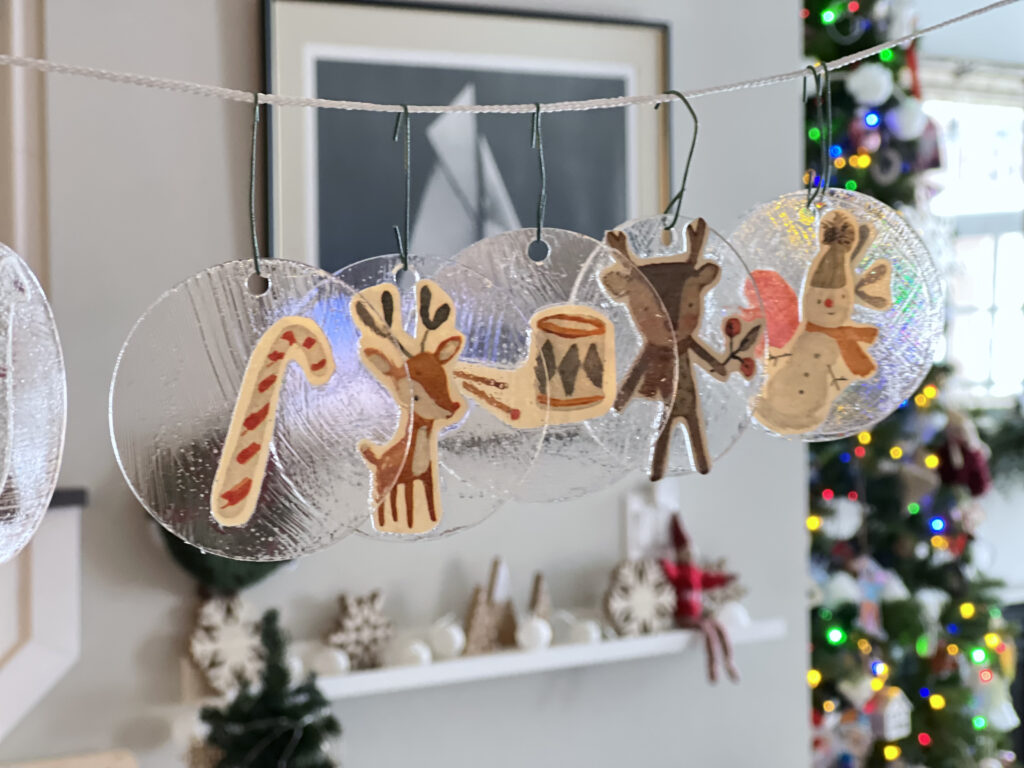
Our second craft was making acrylic ornaments with images cut out from Christmas wrapping paper. This was a perfect craft difficulty level for my 5 year old daughter. We cut out images from wrapping paper we liked. She chose bright pictures and I chose some images from leftover Maileg wrapping paper I had. We painted each ornament with a layer of Mod Podge, placed the cut out on the ornament and then painted another layer of Mod Podge on top. Then I placed the ornaments aside to let them dry.

This is where I made a mistake.
Amateur Tip: Do not place the Mod Podge ornaments on box board! When I tried to pick them up, the backs had stuck to the box board and I had to scrape the box board off the back.
Other than my drying mistake, this was a nice and easy craft for my daughter and I. And they turned out pretty cute.
That’s as far as we got on craft day. I will post the finished results of the salt dough ornaments in a few days.
