Valentine’s Day Cardboard Mailbox

For kids, Valentine’s Day is about sending love to family and friends – sometimes through the mail. Last year, my kids were very interested in the concept of mailing valentines. So, I used two cardboard boxes, some hot glue and red paint to make a mailbox for them. A pretty simple project that has received a lot of love from my kids.

valentine's day cardboard mailbox

If you’re interested in how it was made, here’s a link to the instructions I slightly adapted. I recommend reinforcing the floor, because if the box is big enough – your kids will climb inside.

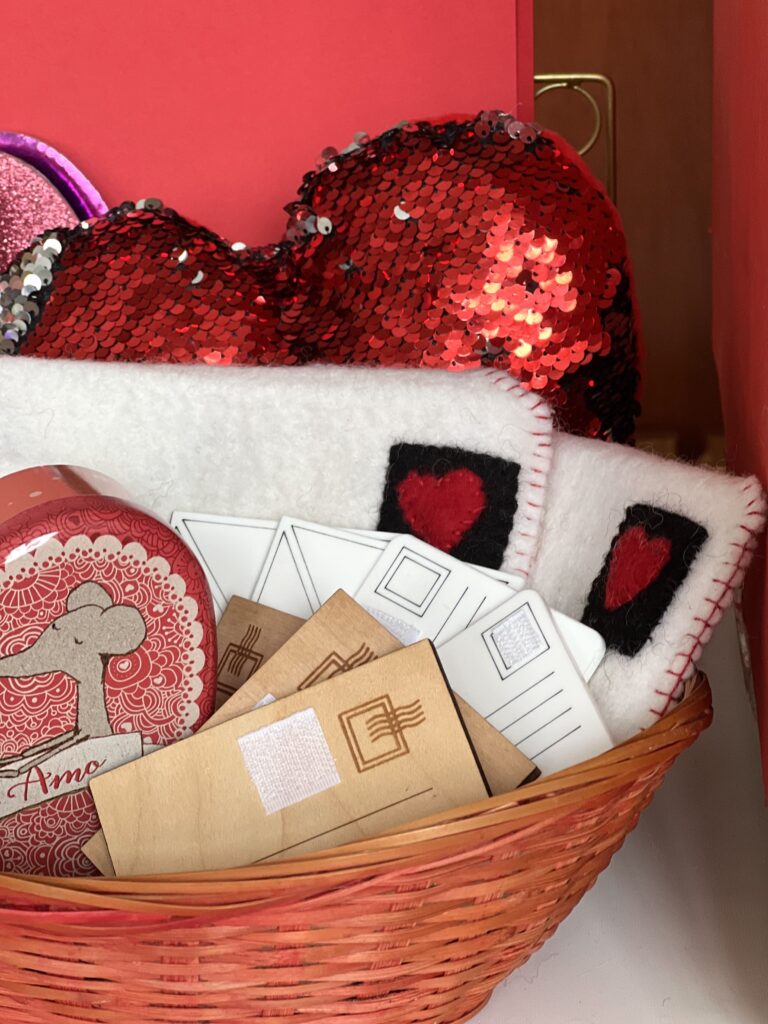
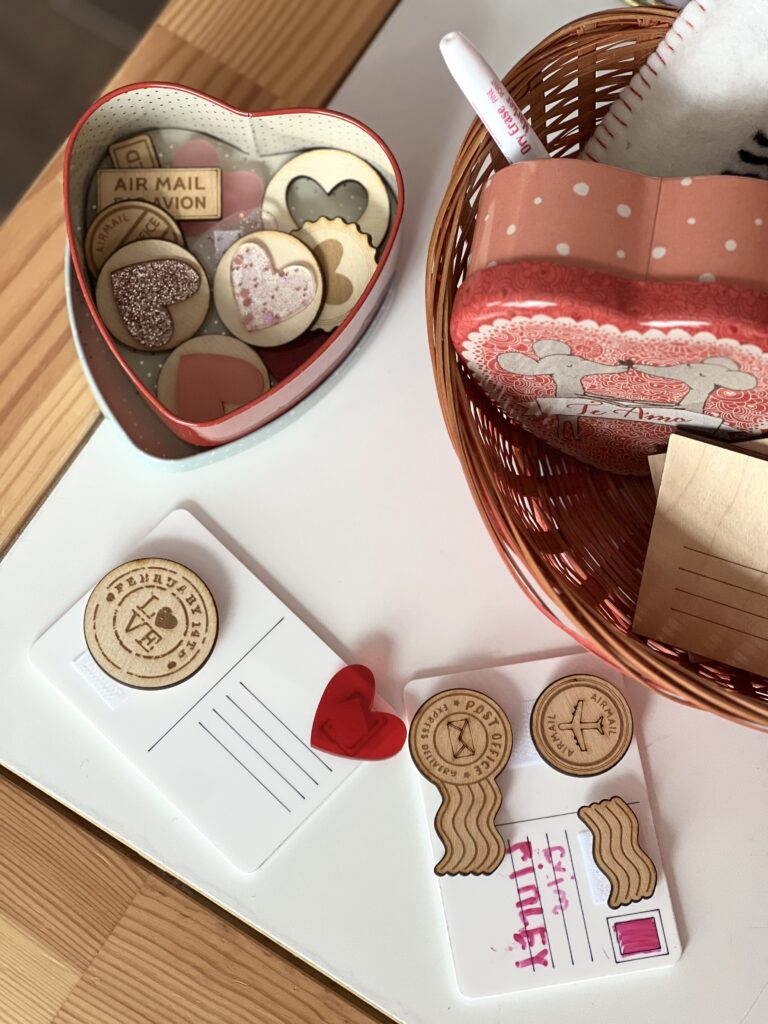
I brought out the mailbox again this year and it has proved just as popular. Next to the mailbox I set out some of our favourite play letters and envelopes. The kids have so much fun mailing valentines and using the tins to create “packages”. The felt envelopes (from Sewing Seeds Play) have a felt letter inside and the kids enjoy putting all kinds of treasures in the envelope. The wood letters are from Eye Spy Club and make a very satisfying “plop” when put through the mail slot. The acrylic letters and velcro stamps are new to us this year (from Stars and Sensory). You can write with a dry erase marker on the acrylic and stick on the stamps and tokens with velcro. So fun! I also put out some paper, cards, envelopes and a pencil so they can create and write their own valentines.

Besides a traditional mailbox, the box has also been a bridge, a house and a moving truck. I love how creative kids are with cardboard boxes. The possibilities are endless. What are some of your kids’ favourite uses for cardboard boxes?

Fizzy Powder Recipe

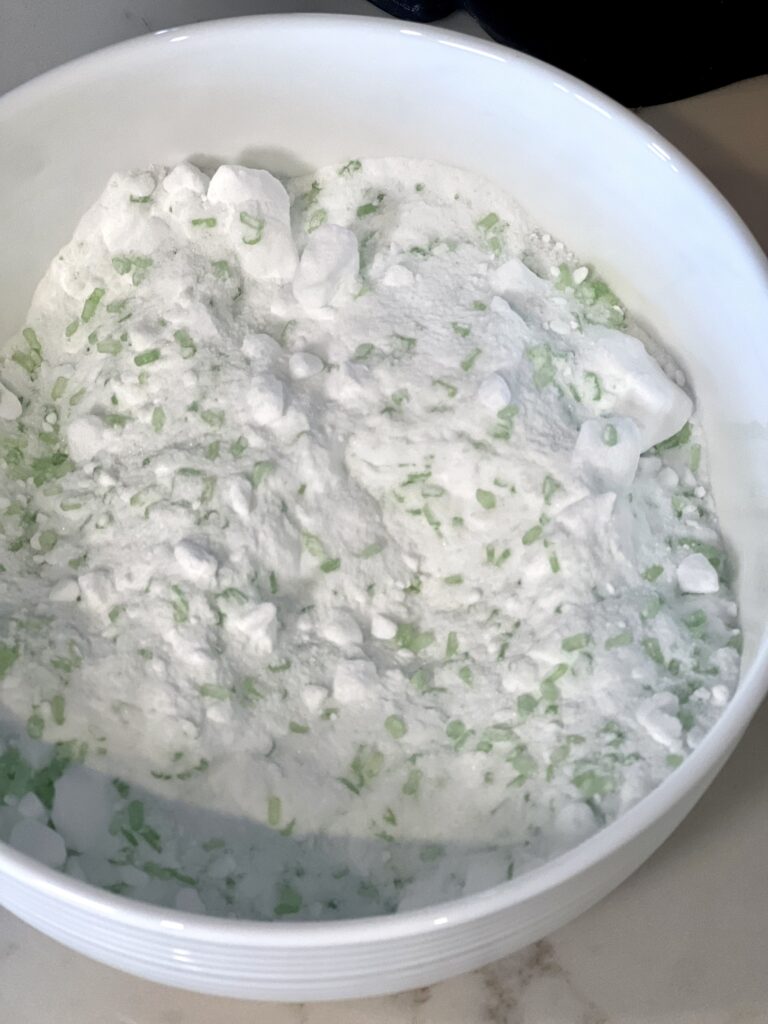
Fizzy powder, also called potion powder, is really easy to make. Just add water to see a fizzing and bubbling reaction. You can get a similar reaction from combining vinegar and baking soda, but I prefer to use water as the liquid for activity play. It’s easier, readily available, less smelly and a little more friendly for the kids to stick their hands in.

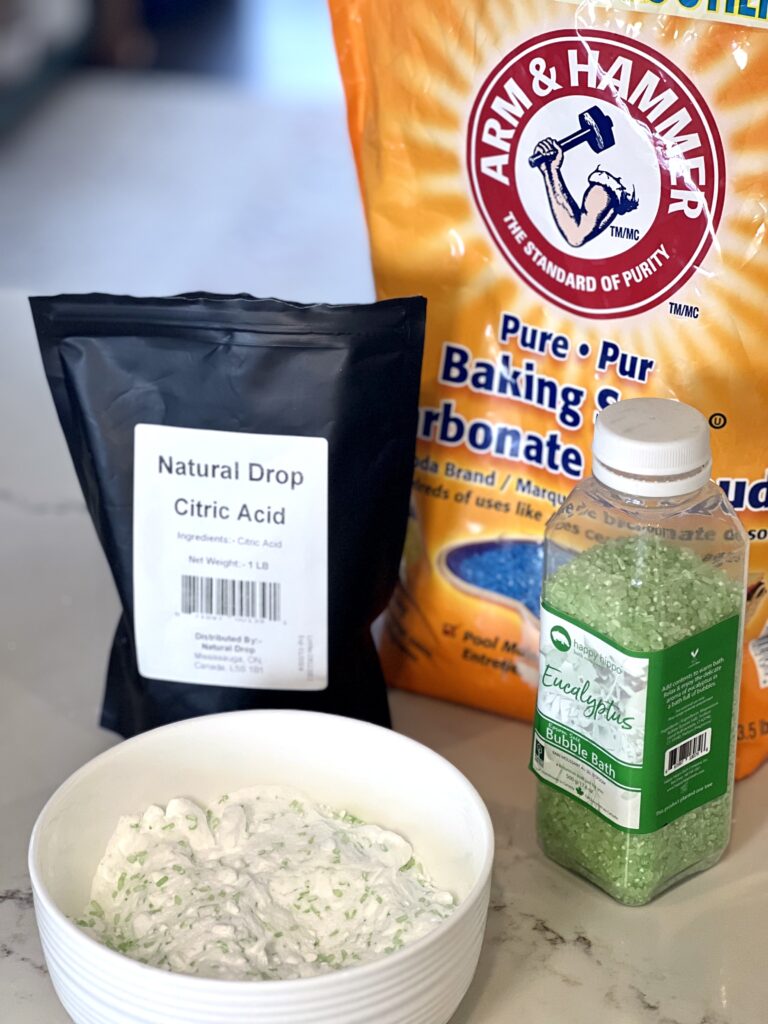
My kids like to use lots of it when we do a fizzy activity so I find it cheapest to make it myself. I usually just eyeball the measurements, it doesn’t need to be exact. Here are the ingredients I use:

1 cup baking soda

1/4 cup citric acid powder (I buy mine on Amazon)

2-3 tbsp Epsom salt bubble bath or dry soap/ bubble bath (mine is from Happy Hippo Bath Co.) *This ingredient is optional, but I find it helps make more bubbles that last longer once the water is added.

That’s it. Pour all the ingredients together and mix. Be careful not to get any water on the mix until it’s time for the fizzy play.

How To Make Sensory Pasta

I don’t always have the budget to buy fancy sensory mixes, but I love the look of them and my daughter loves the variety of shapes, colours and textures in the more complicated mixes. She likes to make patterns and art with them. I have been learning to make sensory mixes myself and I am sharing what I’ve learned so far.

paint and dye pasta to make sensory mix

There are 2 ways I know of to colour pasta, rice, lentils and other dried goods: dying and painting.

Dying Pasta (also works for rice and other dry goods)

Dying pasta is an easy was to colour pasta or other dry goods. I choose dying as my method is the pasta is fine or fragile and I’m concerned about it sticking together.

Materials

  • food dye (gel or liquid)
  • vinegar
  • pasta (or other dry good)
  • bowl with a secure lid
  • parchment paper
  • baking sheet

Step 1: Add dye to bowl

Add a glob of dye to the bowl. The more dye used, the more saturated the colour will be.

Step 2: Add a splash of vinegar

using gel food dye to colour pasta

The measurement doesn’t need to be exact, but add about a tbsp or two of vinegar. Mix the vinegar and dye together.

Step 3: Add pasta

Add around 2- 3 cups of pasta to the bowl. Do not overfill the bowl with pasta as it will be more difficult to mix with the dye.

Step 4: Shake

Secure the lid on the bowl and shake until the dye covers the pasta. If the dye looks uneven, add another tbsp of vinegar.

Step 5: Dry pasta on parchment paper

dyed pasta for sensory play

Empty the bowl onto a baking sheet lined with parchment paper. Spread the pasta out on the paper. Dry overnight.

Painting Pasta (or other dry good)

Painting pasta is the other method for colouring dry goods. There are many, many paint colours available and I tend to choose this method if I’m hoping for a specific colour, or a colour that is not easily achieved with food dye. I find the drawback to this method to be that the paint can make the pasta, rice, etc. can stick together and sometimes break when trying to separate it. I am still searching for the trick to avoid this.

Materials

  • acrylic paint (I used paint from Michaels or Dollarama)
  • pasta, rice or other dry good
  • ziplock bag (or bowl with a lid)
  • parchment paper
  • baking pan

Step 1: Place pasta in ziplock bag

Place 2-3 cups of pasta in a ziplock bag.

colouring pasta for sensory play

Step 2: Add paint

Add a squirt of paint. The more paint, the more saturated the colour, but also the higher the risk of the pasta sticking together. I like to add a little paint at a time to make sure I don’t add too much.

add paint to pasta

Step 3: Shake

Seal the bag and shake, shake, shake until the paint is evenly spread around. Check the colour and add more paint as required.

painted pasta in a ziplock

Step 4: Dry

Once the desired colour and coverage is achieved, empty the bag onto a baking pan lined with parchment, spread out as much as possible and leave to dry overnight.

colouring and drying sensory pasta
The green fine egg noodles, green penne pasta and brown pasta were dyed. The white pasta and red chick peas were painted.

So that’s all it takes to colour pasta and other dry goods. Once everything is dry, you can mix it together and add any other embellishments or extras that you wish.

I like to minimize my waste in the process, so I wash the bowl and ziplock bags for future use. Both the food dye and the paint come off easily if washed soon after colouring. I keep the washed and dried ziplocks with my sensory mixes ingredients so i can remember to use them next time.

DIY Gingerbread Blocks

I am onboard with the gingerbread trend. Gingerbread has so many possibilities for creativity, plus it’s a yummy food – what’s not to like?

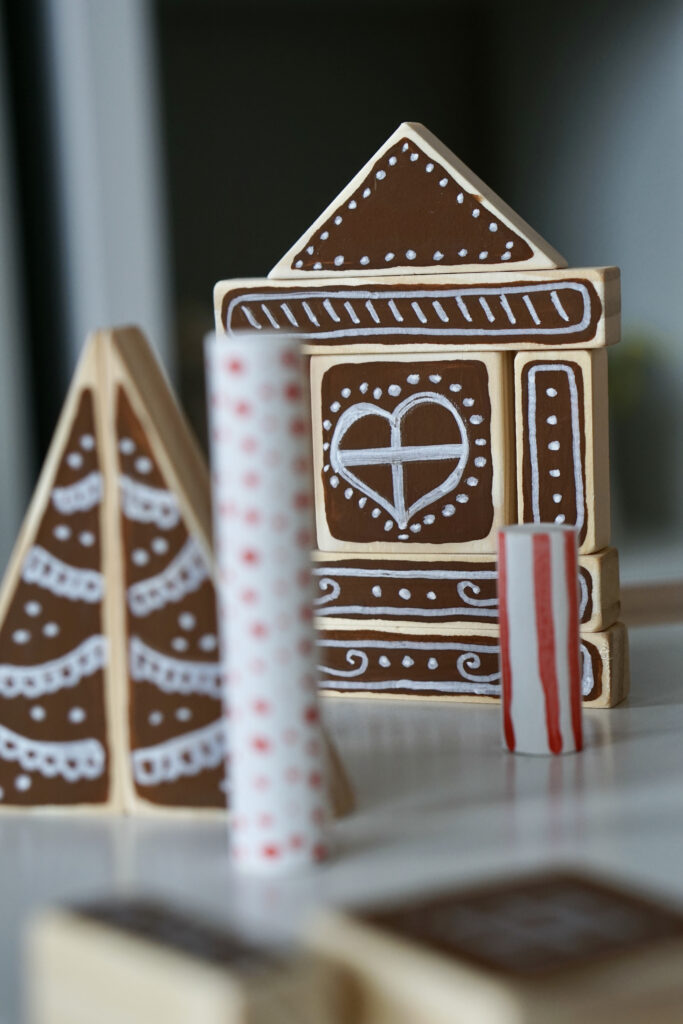
I had been looking for a wooden, buildable gingerbread house since last year. The closest ready-made options I found were the Everwood Friends holiday blocks and Guidecraft notch blocks. However, I’m in Canada and both options with shipping and exchange were out of my budget. Then I saw a fantastic idea on instagram from Moore to Love in Kinder; she made gingerbread blocks using inexpensive wooden blocks from Dollarama. They looked so cute, that I thought it was worth a try.

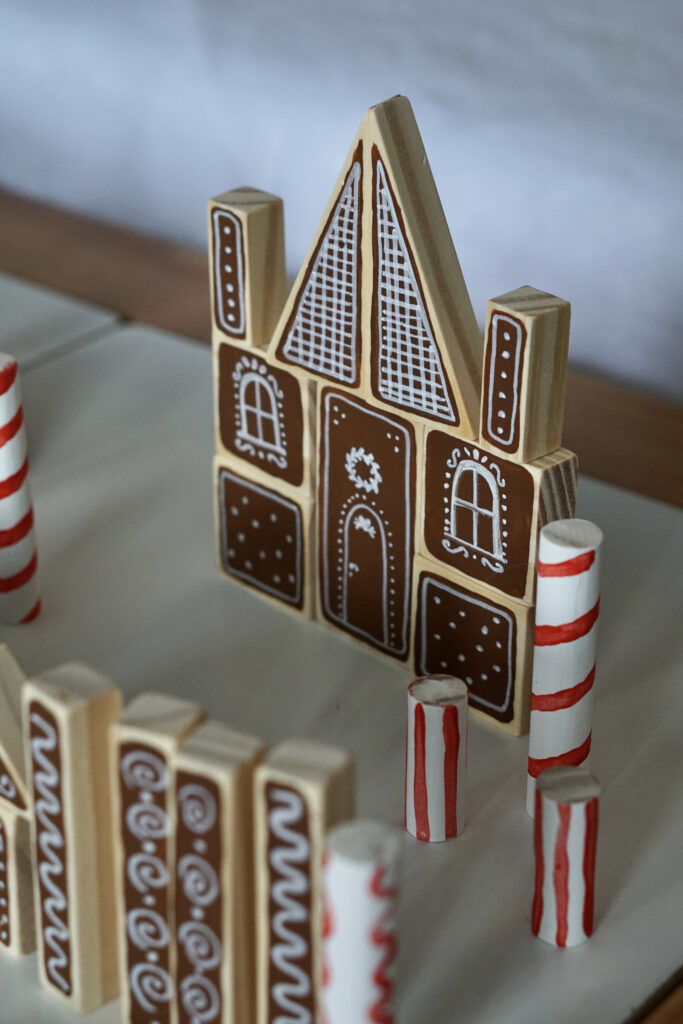
I found that they were time consuming, but did indeed turn out adorable. Worth the effort I think. Here’s how I made them.

Step 1: Buy Blocks

I purchased two sets of wooden blocks from Dollarama. Each set was $4.

Step 2: Sand Blocks (optional)

I chose to give the blocks a quick sand first, since they are very cheap blocks and I wanted them to have a better feel. I also wanted to slightly round the corners so they weren’t so sharp. The wood in these sets is very soft, so the sanding didn’t require much muscle. Once sanded, I gave the blocks a quick wipe with a damp rag to remove any excess sawdust.

Step 3: Mix paint

To get a gingerbread colour I liked, I mixed Cinnamon Brown (from Dollarama) and Raw Sienna (from Michaels), but you could use any combination of browns, reds and yellows to get the colour you like. My paints were in matte, which I think does help create the gingerbread look.

Step 4: Paint the blocks

There is lots of room for personal preference in this step as well. I choose to paint 2 sides of each block and left a thin border of wood around each. I just free-handed it, but you could tape the blocks in the areas you don’t want paint, or paint the whole block. I do not have the steadiest hand, but the free-hand was fairly easy and I got better at it as I went. I found I needed two coats on each side to cover the blocks evenly. After painting, I let the paint dry well before proceeding to the next step.

Step 5: Paint wooden cylinders

I covered the cylinders with a coat of white paint, let it dry and then added some candy cane and peppermint details with bright red paint and a thin brush. Since my hand isn’t the steadiest, I found the straight lines difficult, so I tried a few other designs.

Step 6: Add white gingerbread details

This was really the fun part. I was a bit nervous to make marks on the blocks I had put so much time into, but once I got going I found it was easier than I thought. I used a white acrylic paint pen (also from Dollarama). Here is where you can let your imagination run.

Step 7: Cover with Mod Podge (optional)

I haven’t done this step yet, because I didn’t have any matte Mod Podge on-hand and I wanted to keep the matte look. However, I may still do it to protect the blocks. It’s probably a good idea to seal in all your hard work.

So that’s it. Like I said, it doesn’t require a high skill level, but it did take me a few days of work. The good thing is once they are done, they will last for years of play.