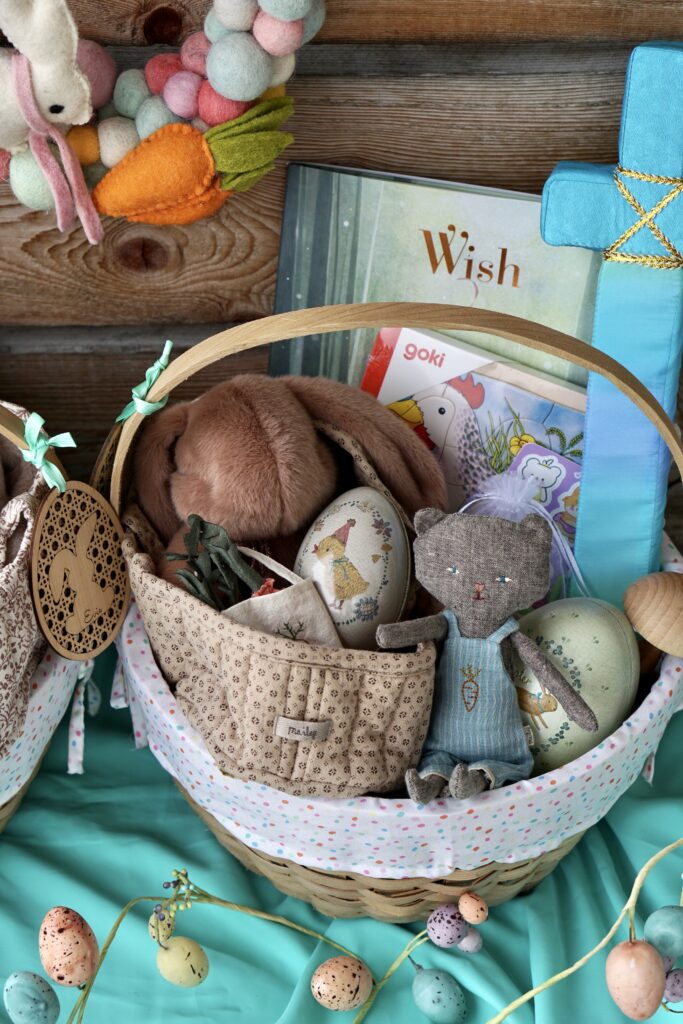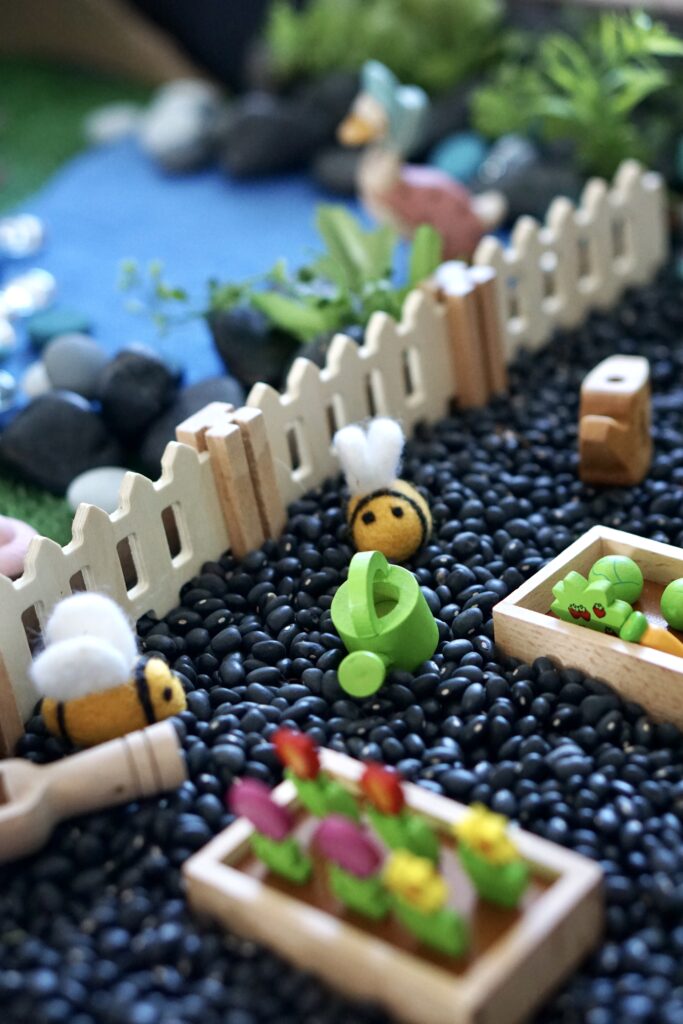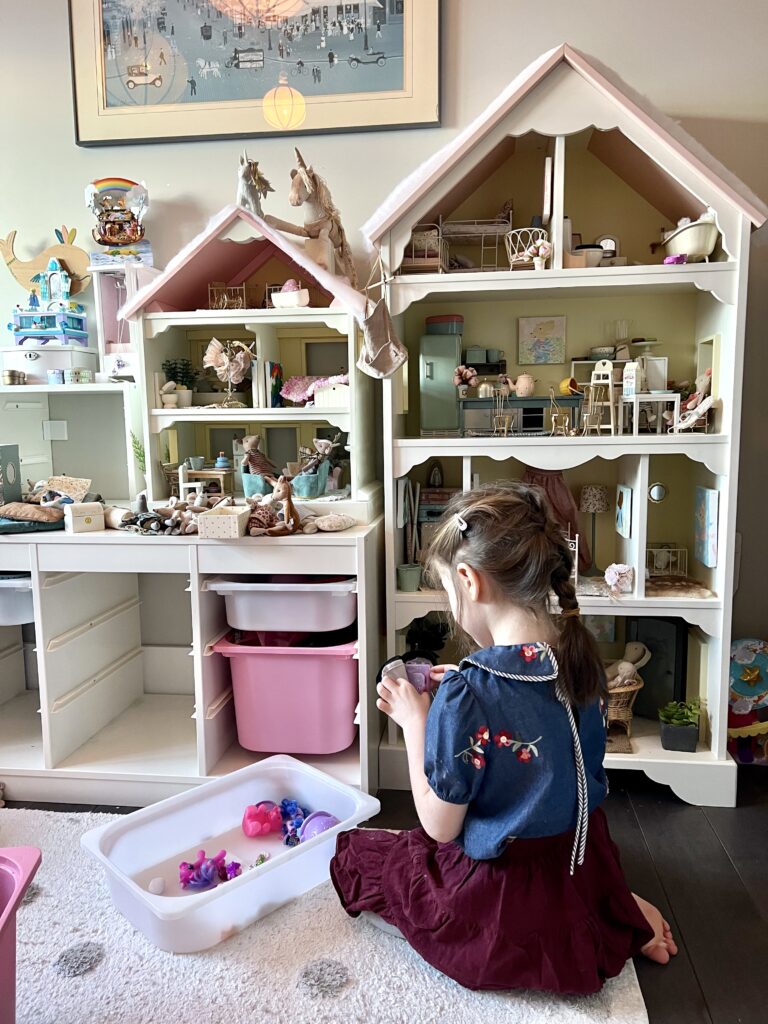
I made some simple and inexpensive DIY trofast bin covers for my IKEA flisat table. I wanted to make a fun Easter sensory activity for my kids, without a big price tag. I ended up making a garden where they could harvest flowers and arrange them in an Eater basket, harvest carrots, and even plant new seeds in the carrot holes or in the pots.

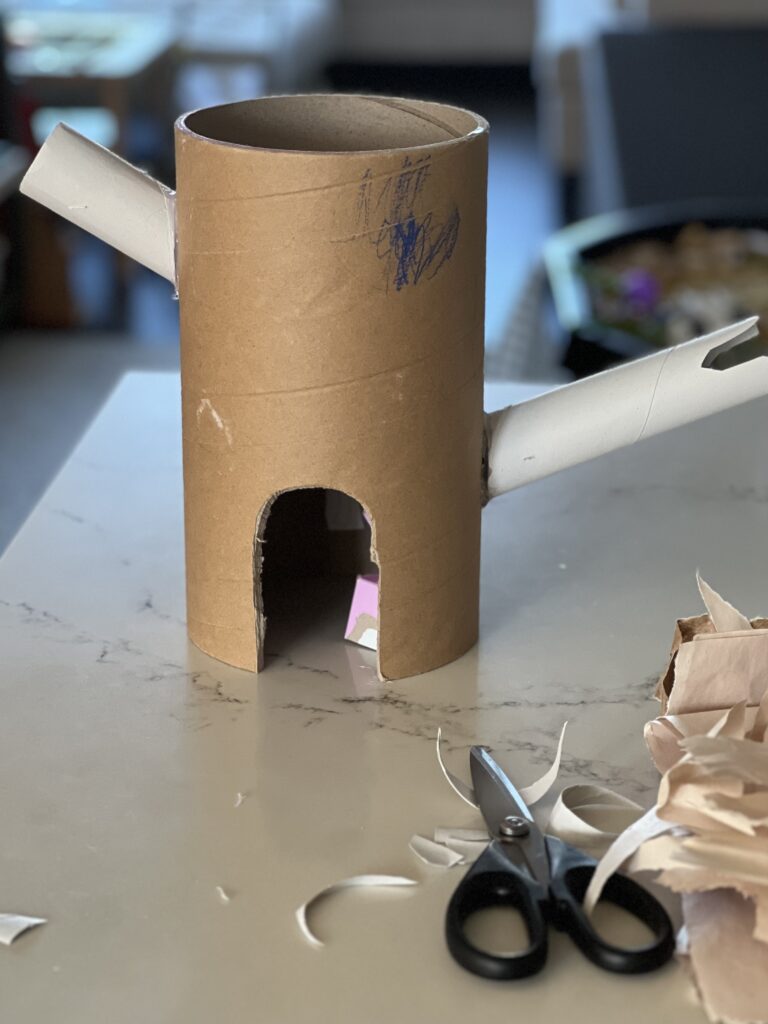
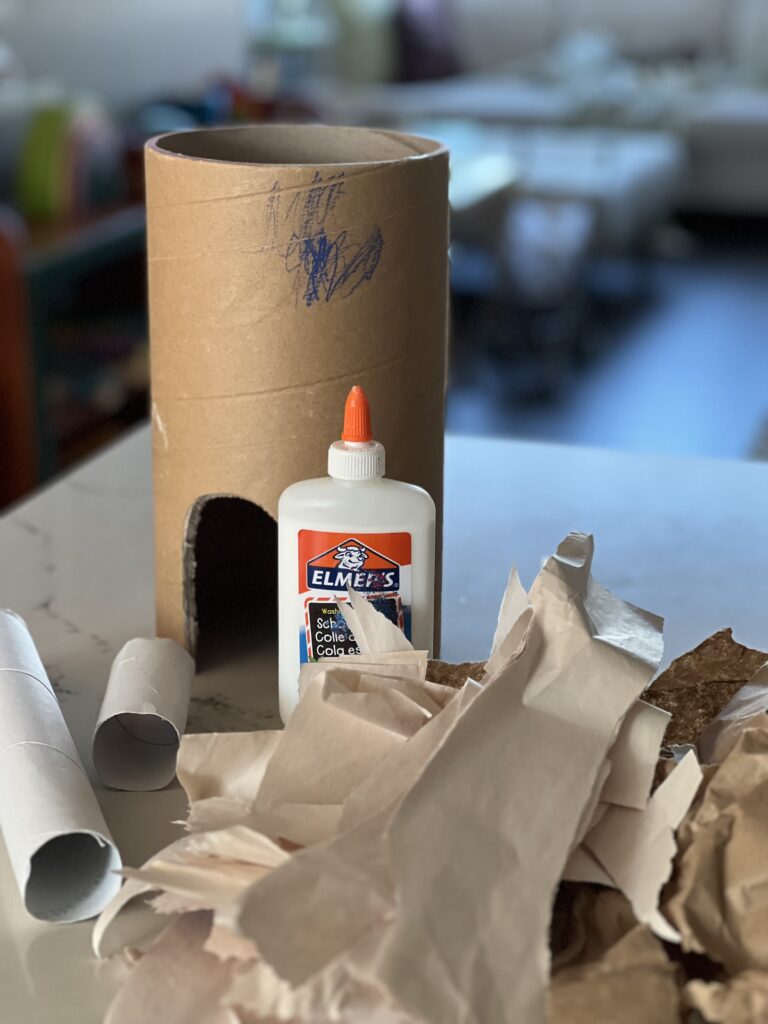
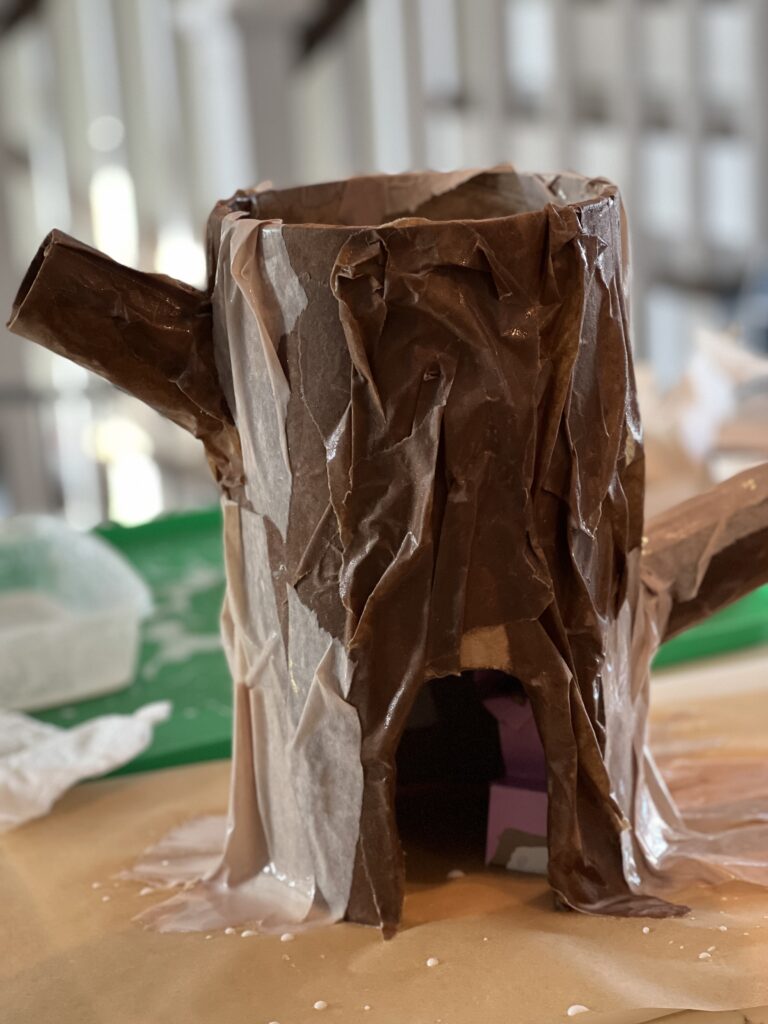
Here’s how I made the cardboard covers:
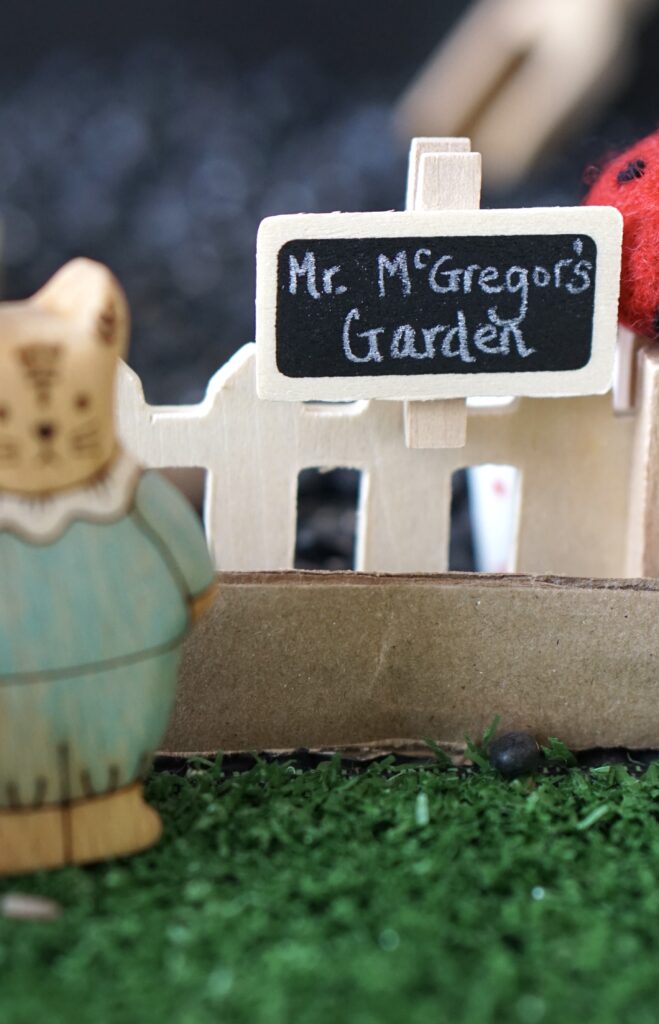
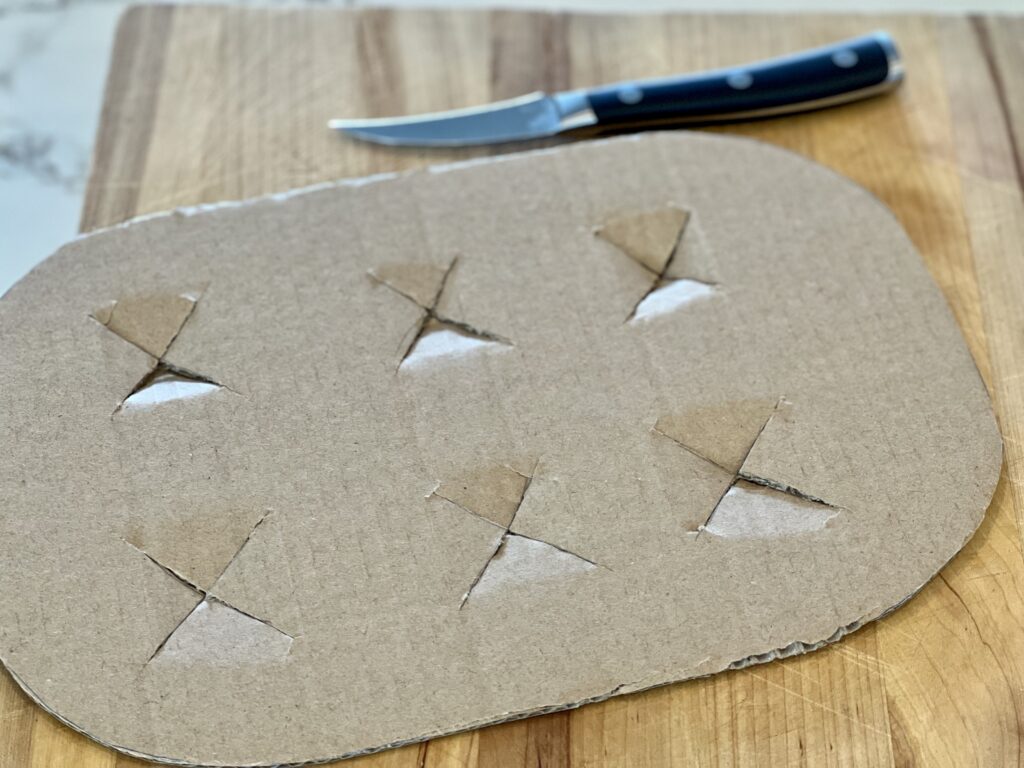
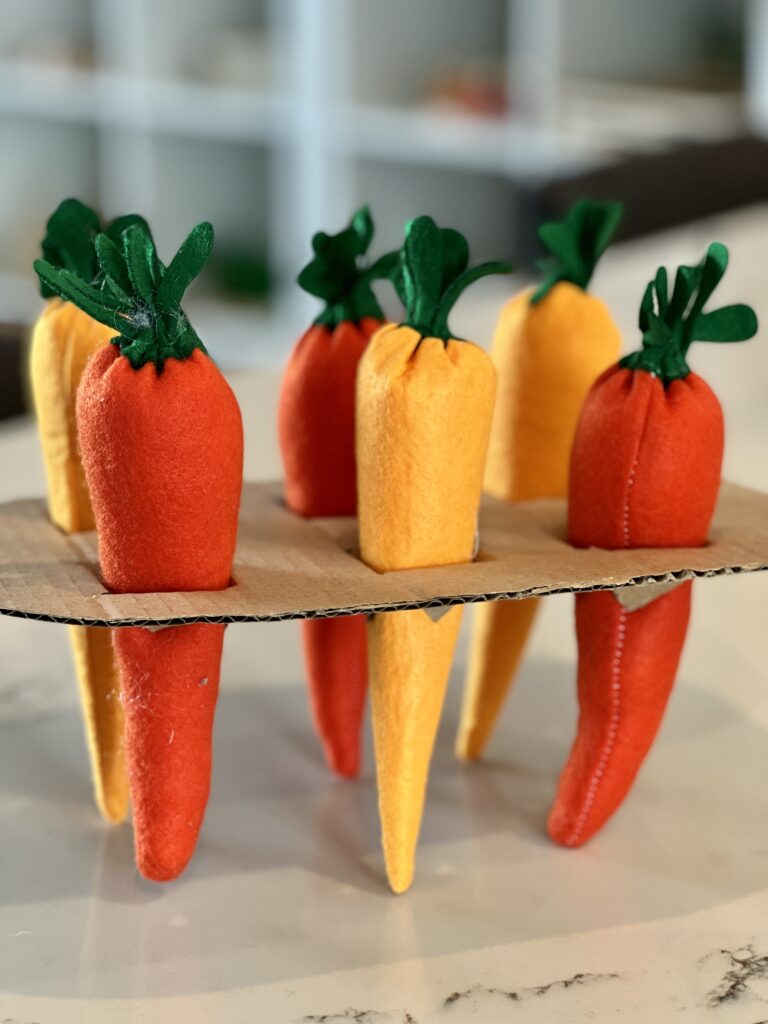
I cut the covers from cardboard and for the first one, simple cut x’s in the cardboard so a carrot could either be “planted” or “harvested”.
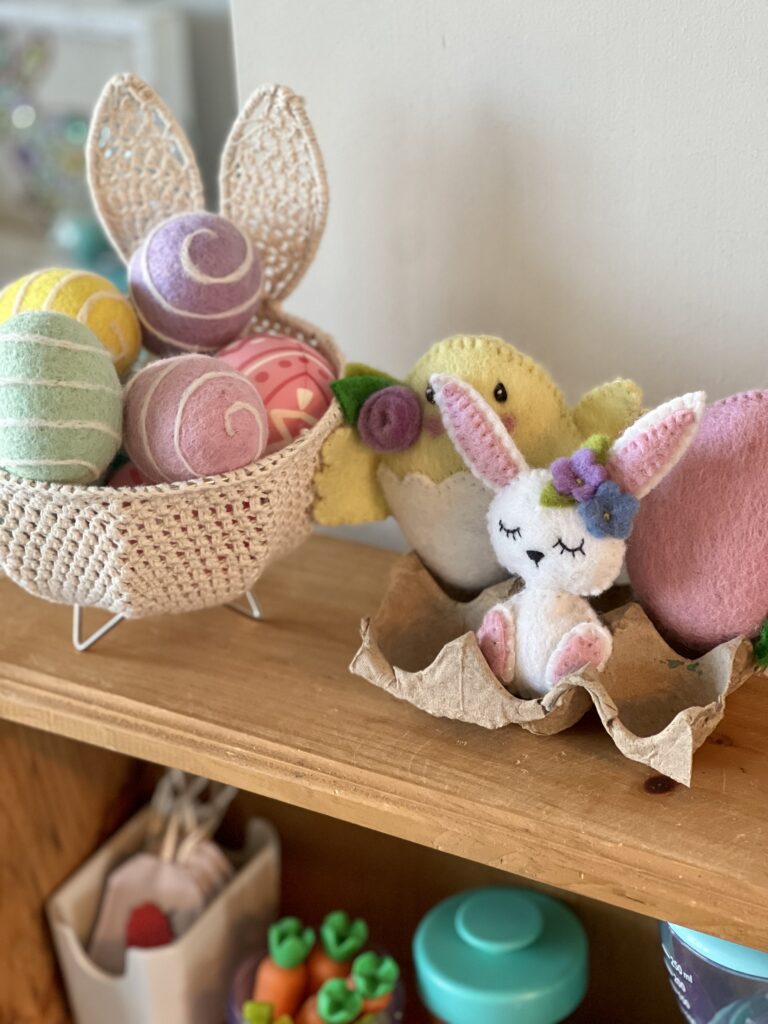
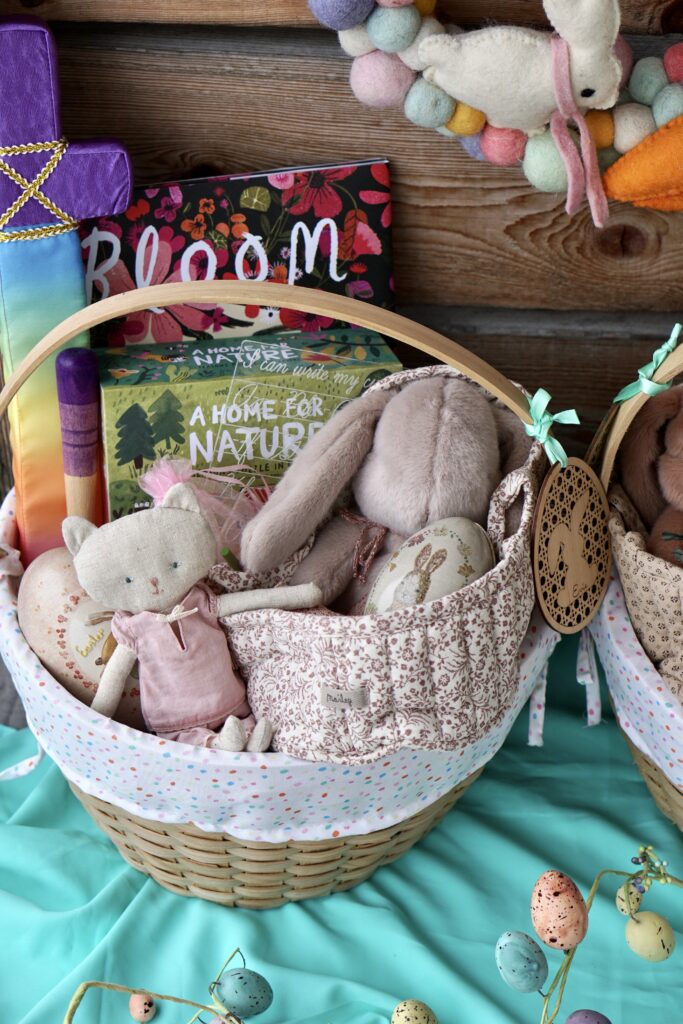
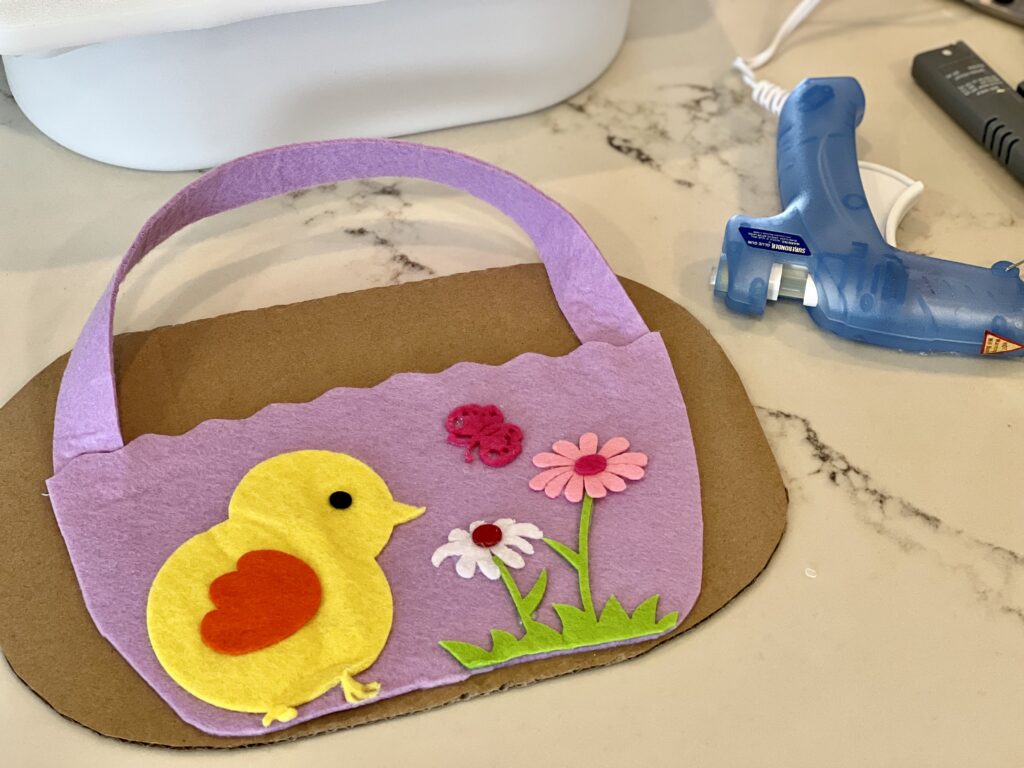
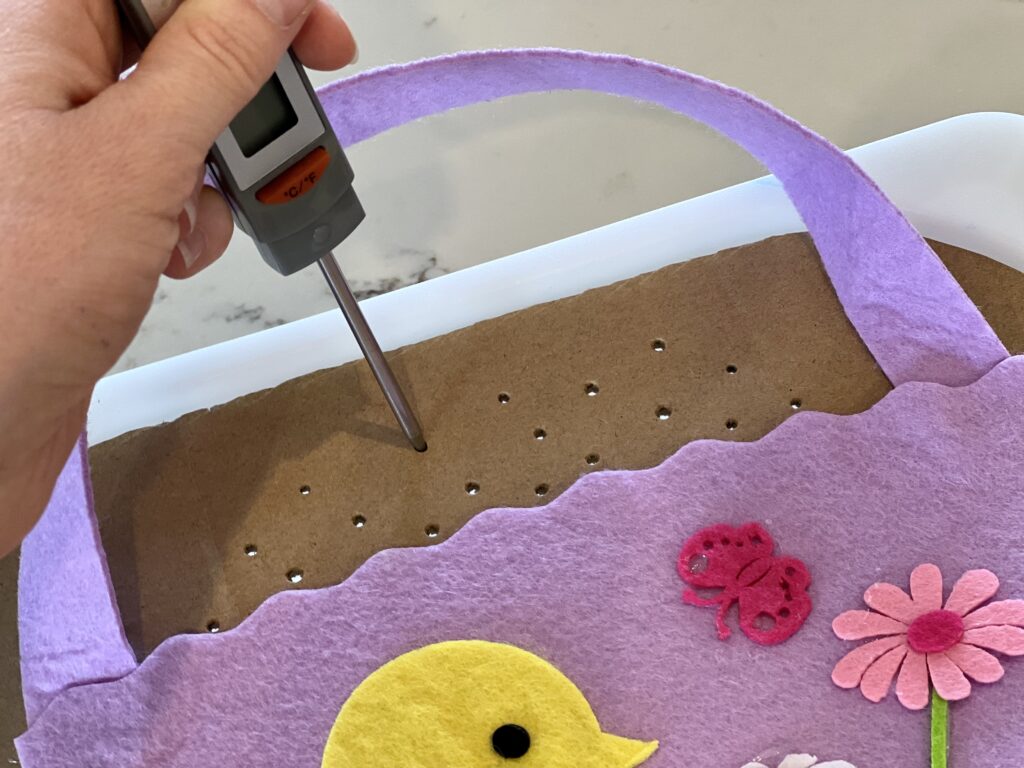
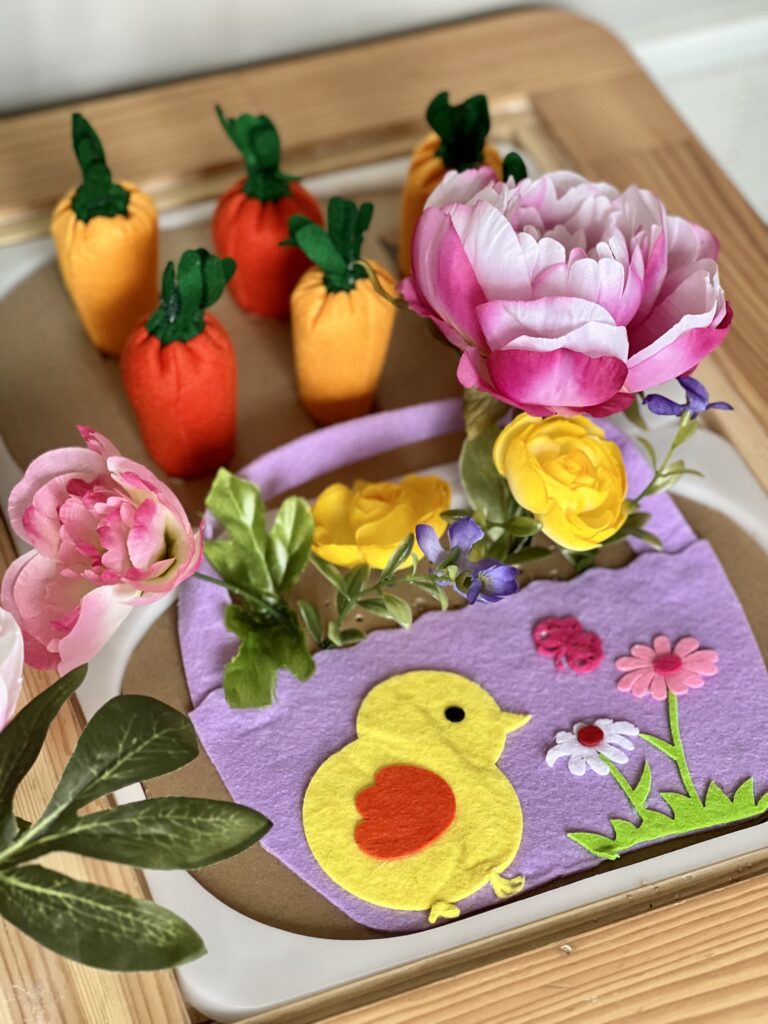
I also wanted to make an Easter basket cover that the kids could post fake flowers in, but since my drawing skills are not the best – I used a felt Easter basket from the dollar store. I simply cut the basket in half, removed the bottom and handle and then reapplied the handle to the two corners at the top of the basket. Then I glued the felt basket piece to the cardboard and poked a few holes around the top of the basket (some larger to accommodate the larger stems) .
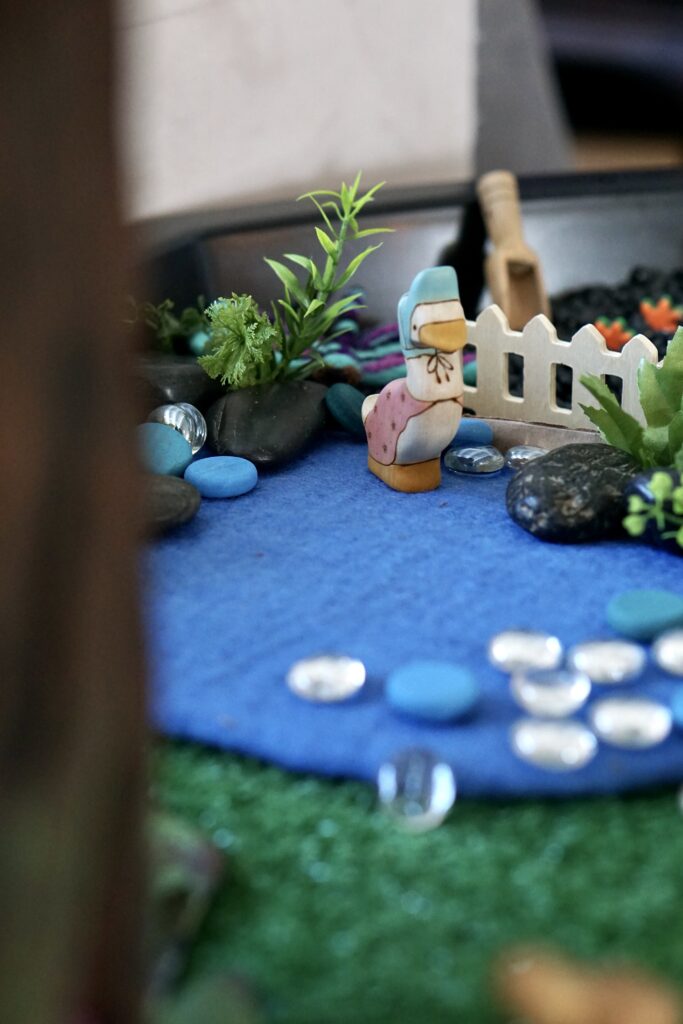
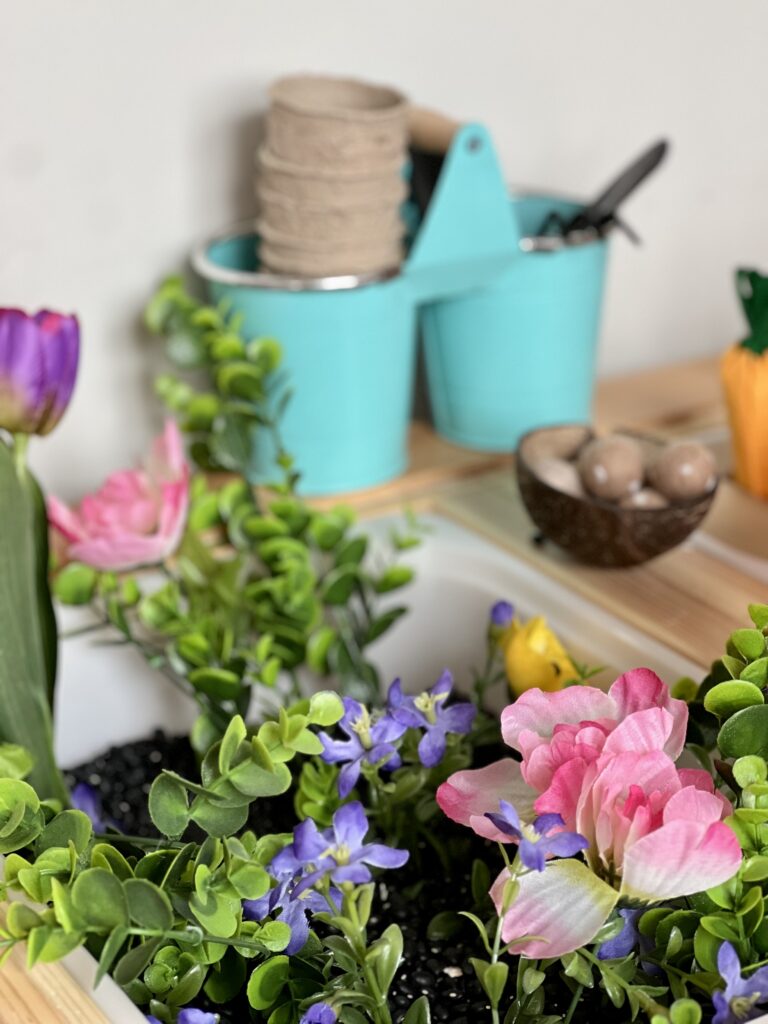
On the other side of the table I filled a bin with dry black beans for “soil”. Black beans have to be one of the most versatile sensory materials you can use. I cut some fake flowers with wire cutters, separated them into individual stems and “planted” them in the black beans.
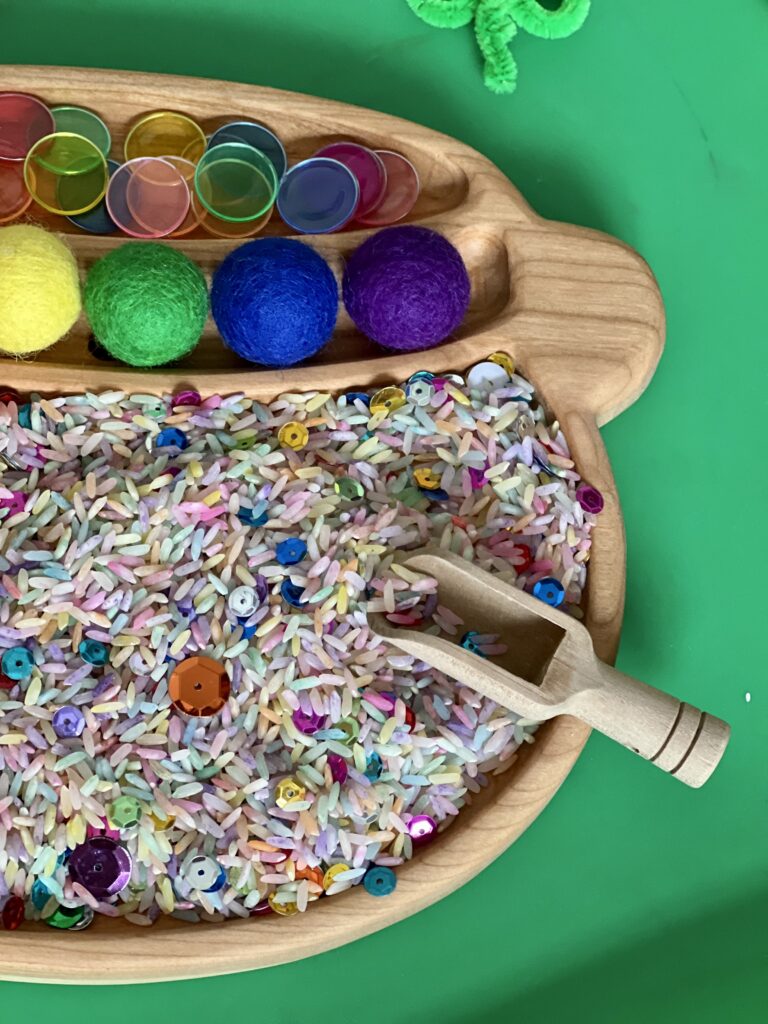
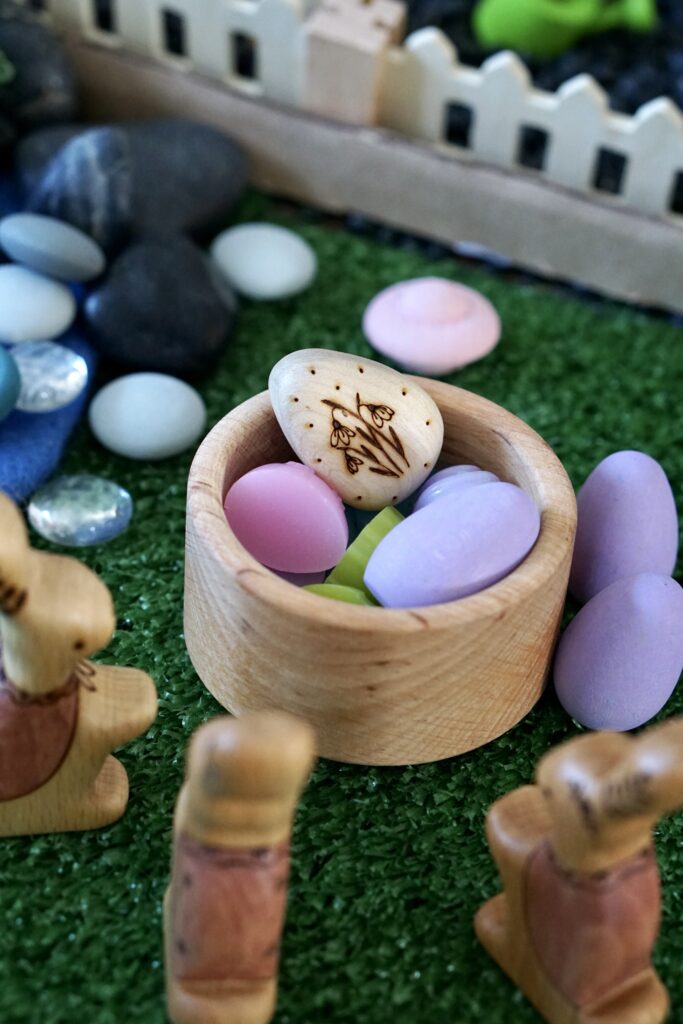
Finally I put out some small garden hand tools, some pots and a small bowl of felt balls for “seeds” in case the kids wanted to do some planting.
The kids can harvest flowers and carrots, make Easter basket arrangements and even plant new seeds. Lots to do! It’s a fun, easy and budget-friendly sensory bin.
Everything except the felt balls (Sewing Seeds Play) and the carrots (AliExpress) are from the Dollar Store (Dollarama).