Spring Dollhouse Art & Flowers

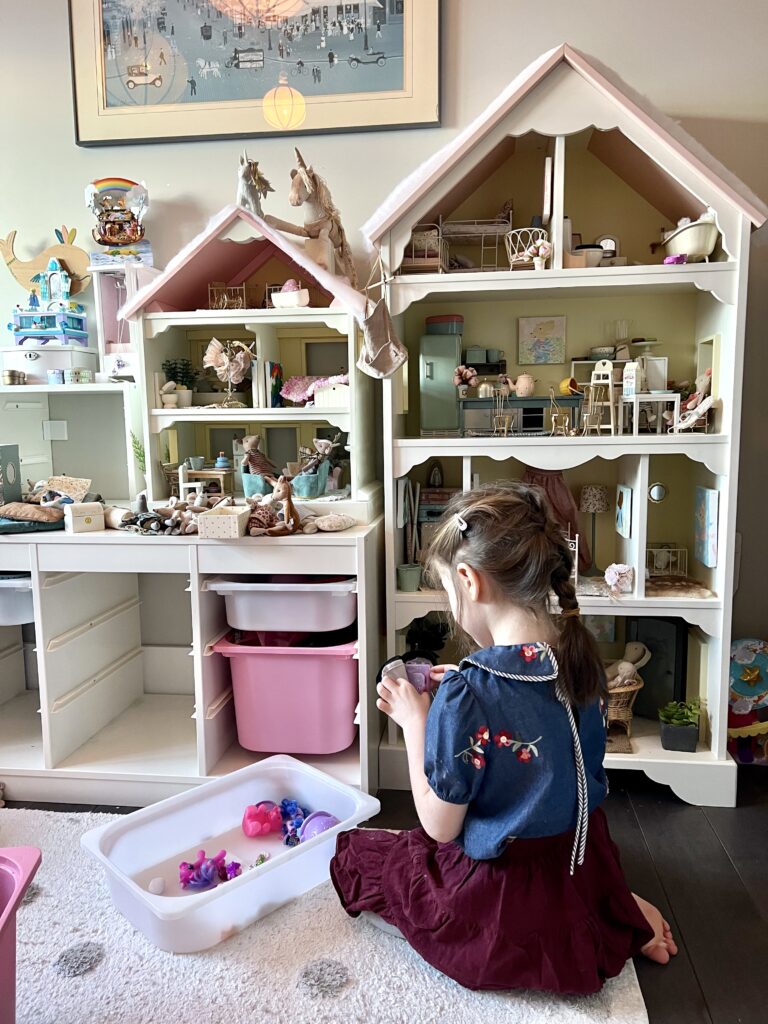
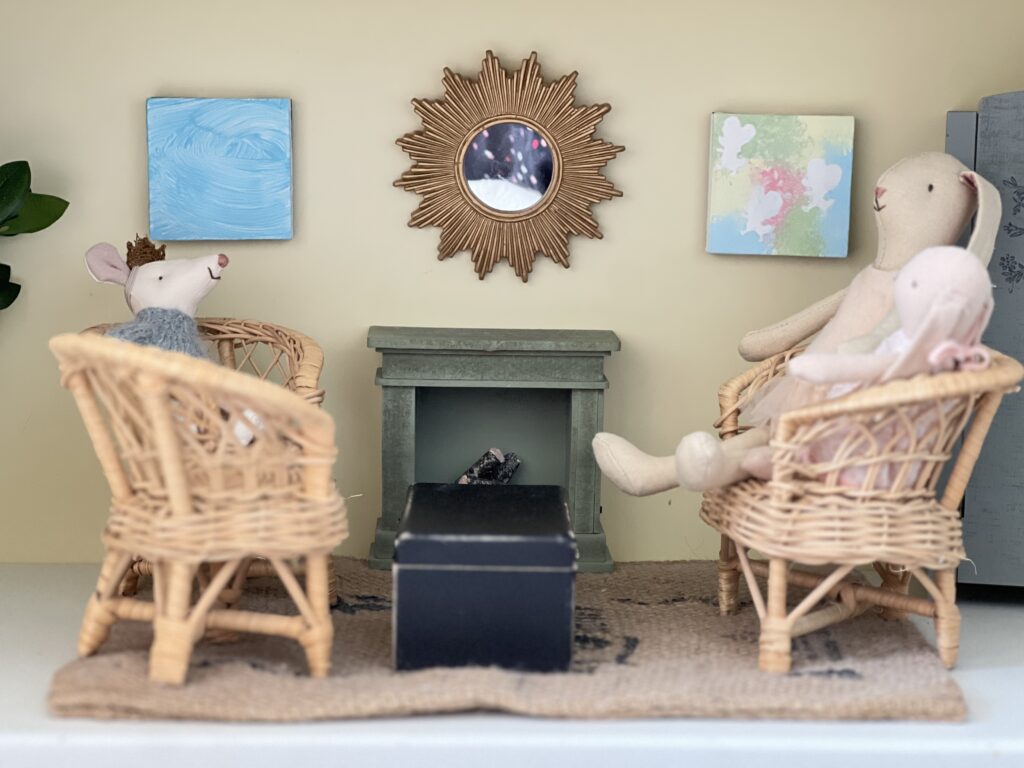
My daughter and I thought our dollhouse walls were looking a little bare, so we decided to create some art and flower arrangements to freshen them up for spring.

spring art and flowers in dollhouse

Here’s how we made them.

Paintings

Materials

  • Mini Canvases (Walmart)
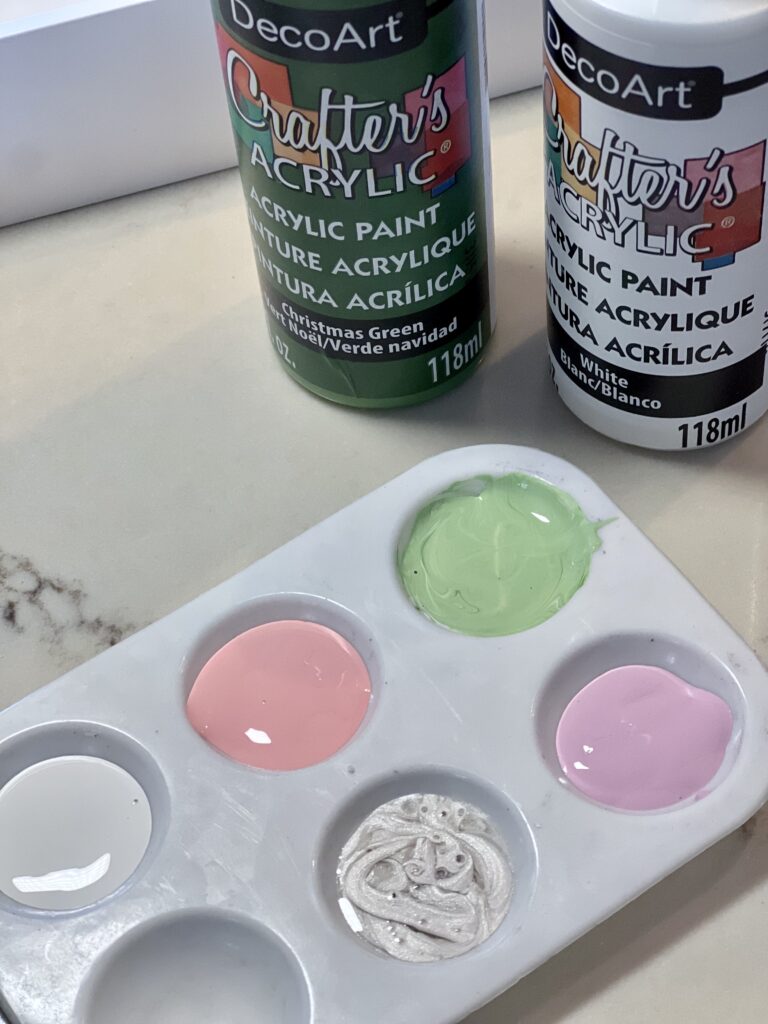
  • Washable acrylic paint
  • Maileg cardboard cutout and tag pictures
  • Fairy picture canvas (Dollarama)
  • Command Picture Hanging Strips

We tried a few different methods to make the paintings.

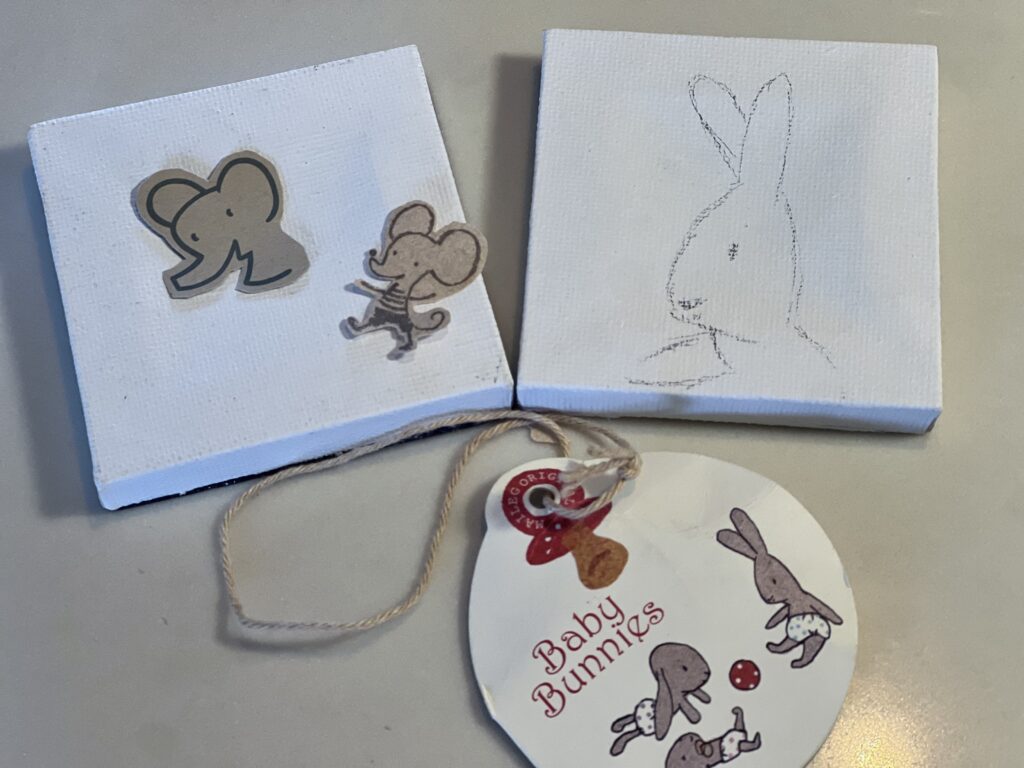
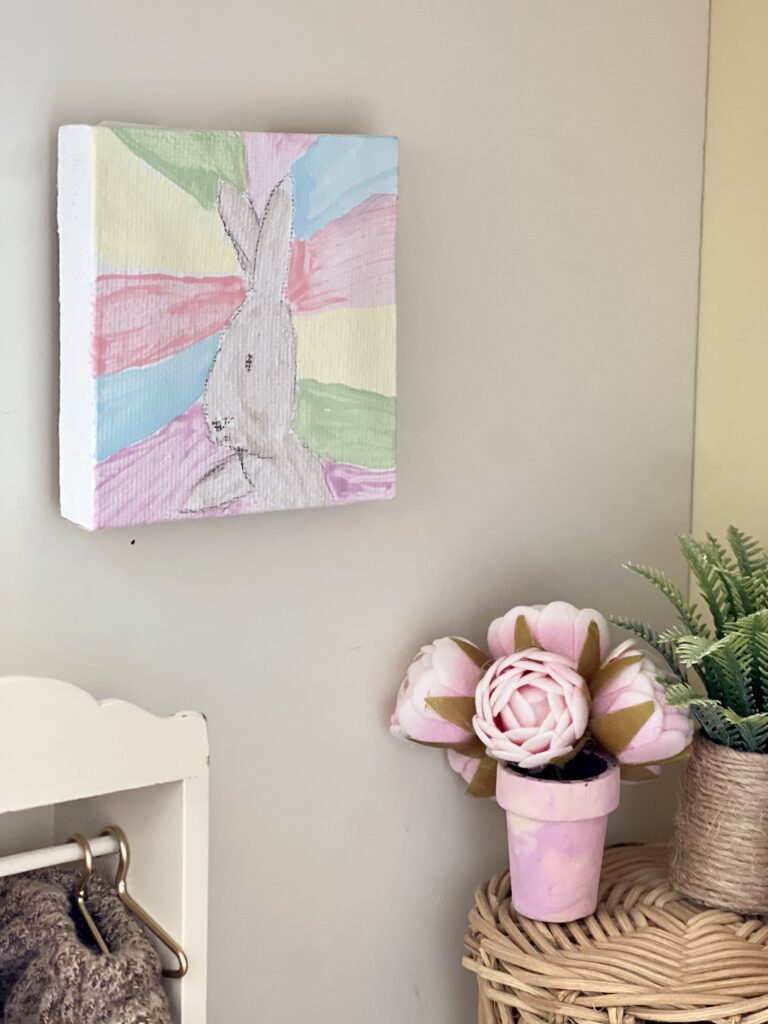
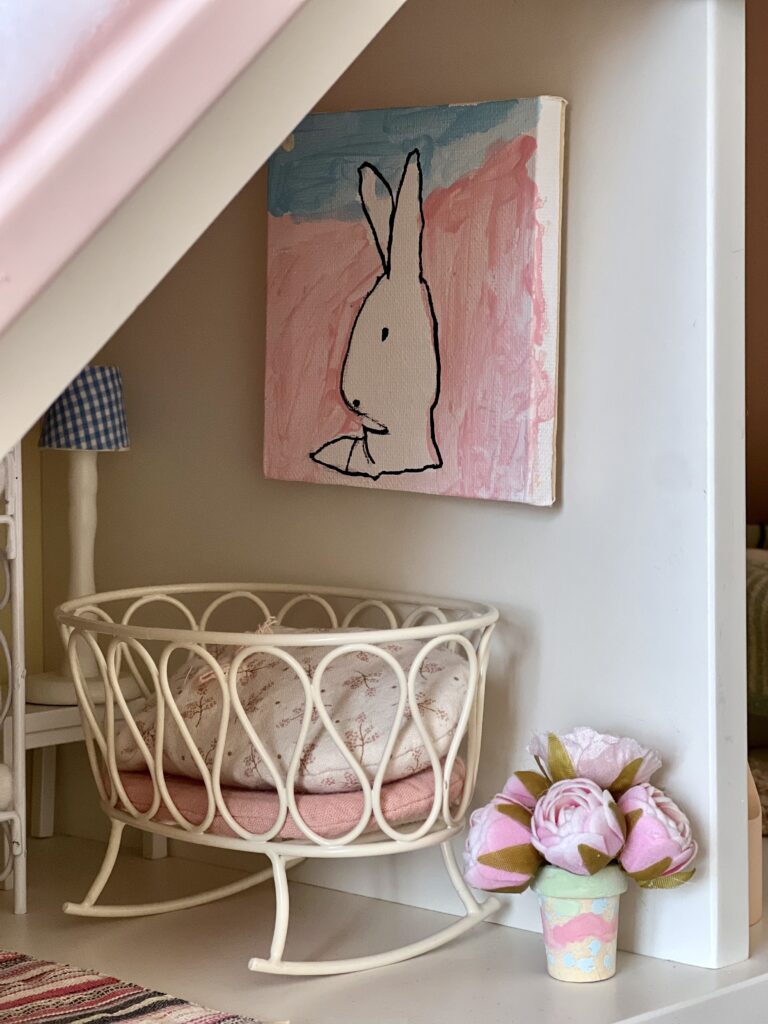
  1. I sketched a few bunny portraits using a Maileg bunny tag for guidance and we free-hand painted a few of the canvases.
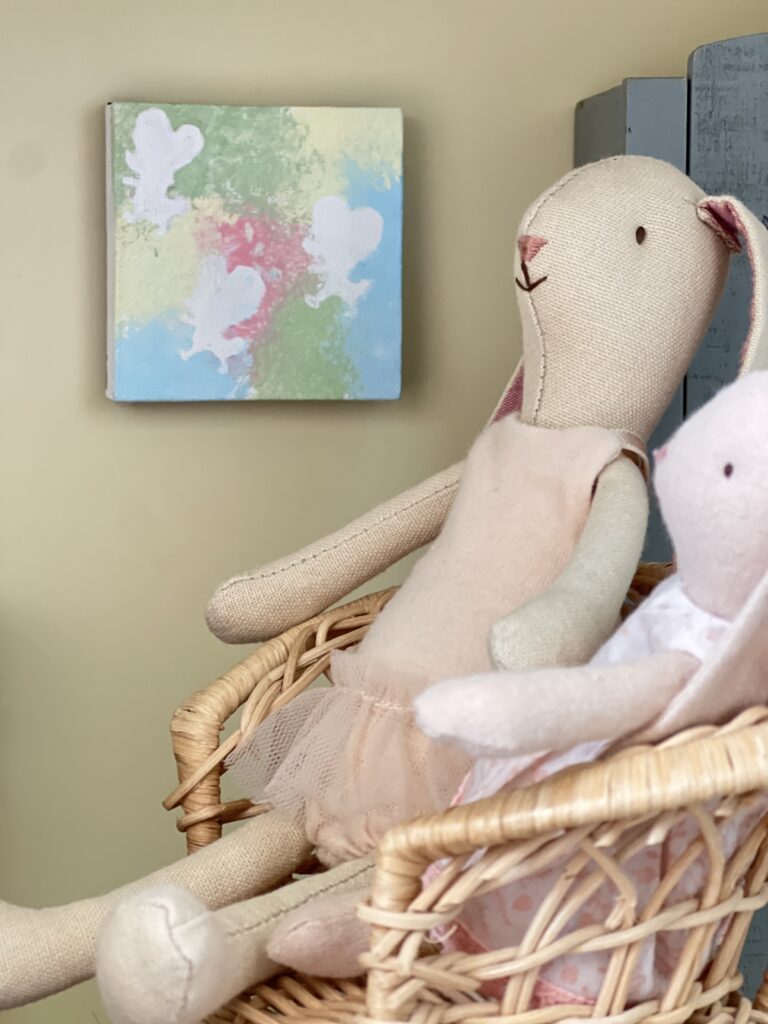
  2. I am not much of an artist, unlike my daughter, so I cut out a small image from a leftover Maileg sticker. I taped the sticker to a canvas and dabbed a sponge brush around it to create a mouse silhouette and then repeated 2 more times. The sticker was too small for my daughter to manage this technique, so I went hunting for a larger image to use.
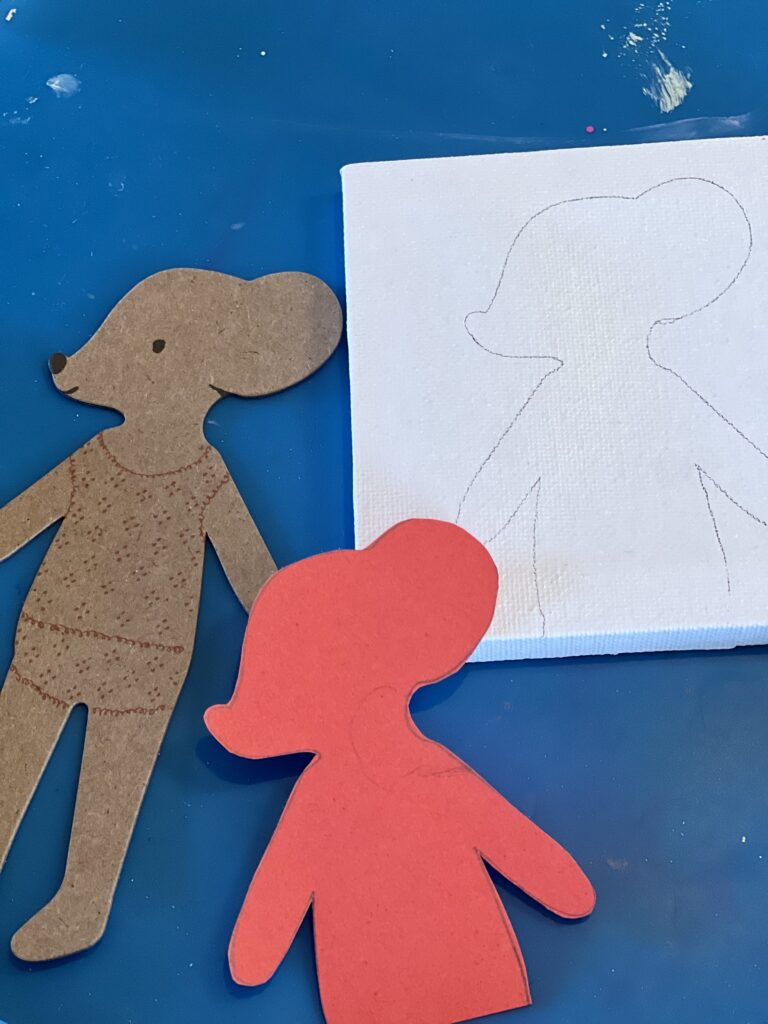
  3. When I saw the cardboard mouse figure in my box of Maileg things, I thought it would be perfect for this project. I traced the cardboard mouse figure (it was packaging that came with a mouse outfit) onto some cardstock, taped the cardstock on the canvas and then my daughter painted around it. Once the background was finished, she removed the cardstock stencil and painted the mouse. This was the most successful and least frustrating method, for both myself and my daughter.
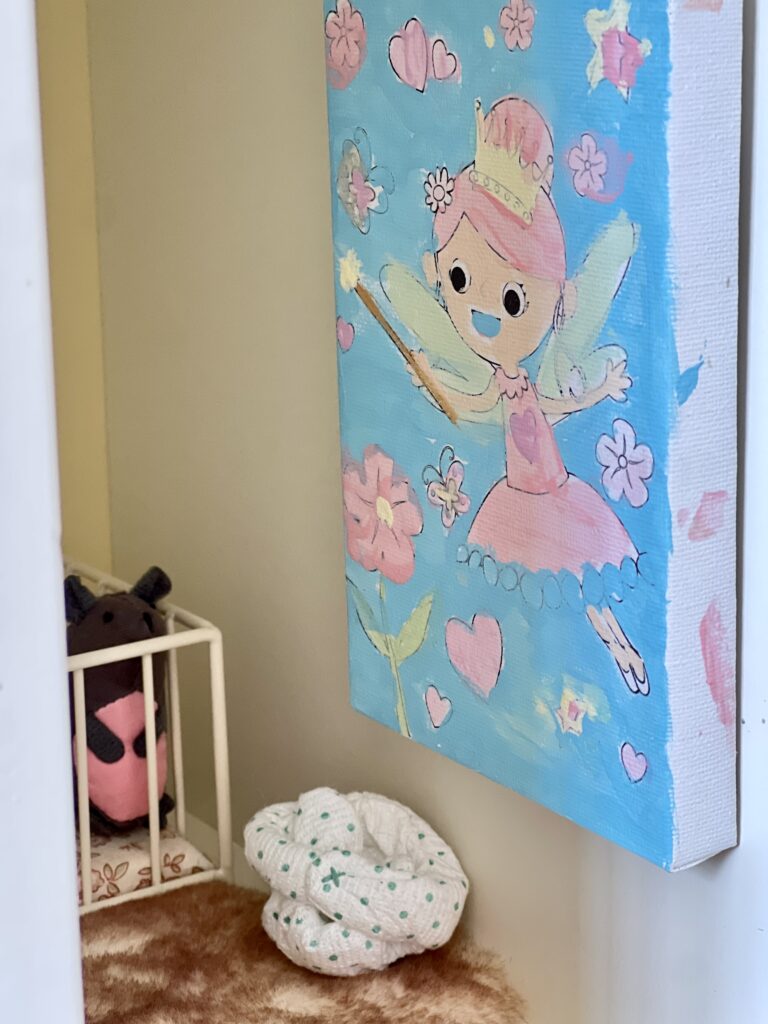
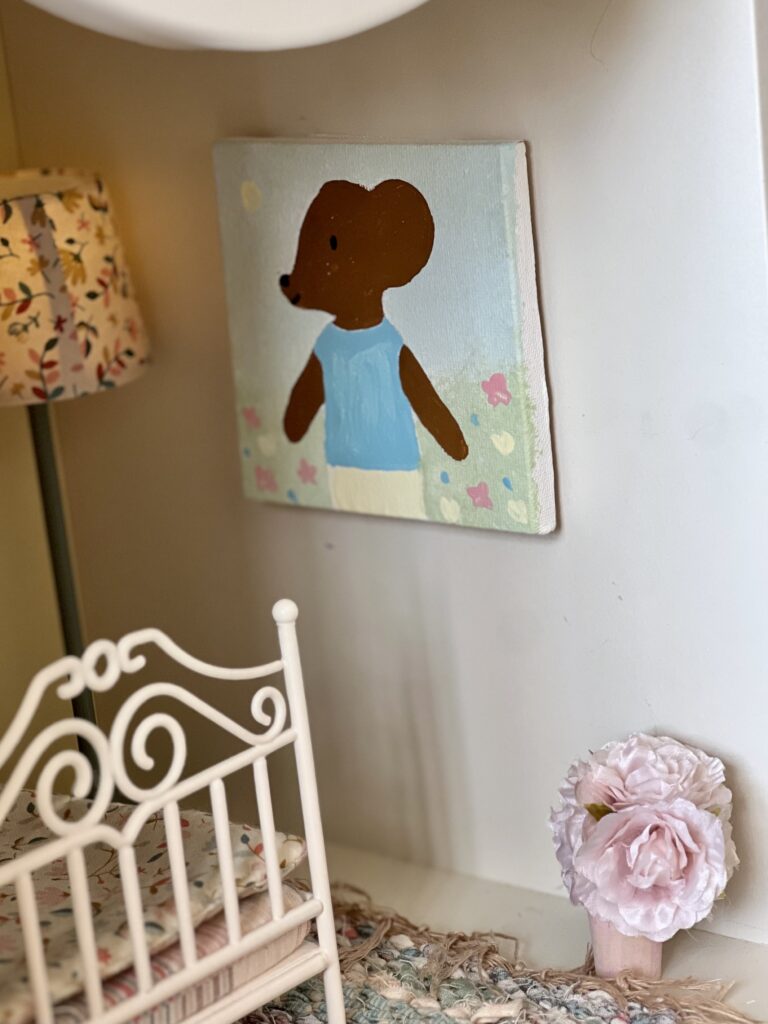
  4. We also had a canvas (from Dollarama) with a fairy scene pre-drawn on it that we decided to add to the collection
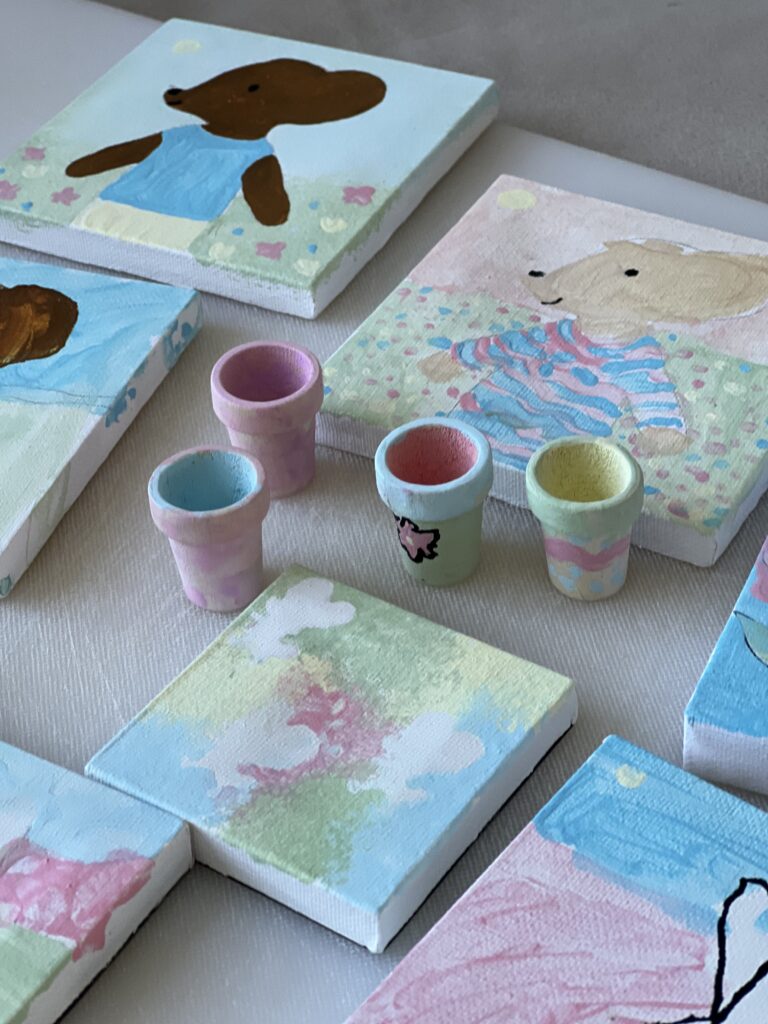
mini art for dollhouse

Once the paintings were all finished and dry, we put Command Picture Hanging Strips on the back and adhered them to the dollhouse walls.

Command Picture Hanging Strips on mini canvases

Picture Hanging Strips work like velcro – one side sticks to the canvas and the other side sticks to the wall. This way the picture can be moved around easily. I thought that it would be a fun feature for my daughter if she could rearrange the paintings. It also means we can easily create new paintings and switch them out in the future.

Flower Pots

Materials

  • Wood blank flowerpots (Sewing Seeds Play)
  • Washable acrylic paint
  • Brown Air Dry Clay (Amazon)
  • Mini flowers (AliExpress)

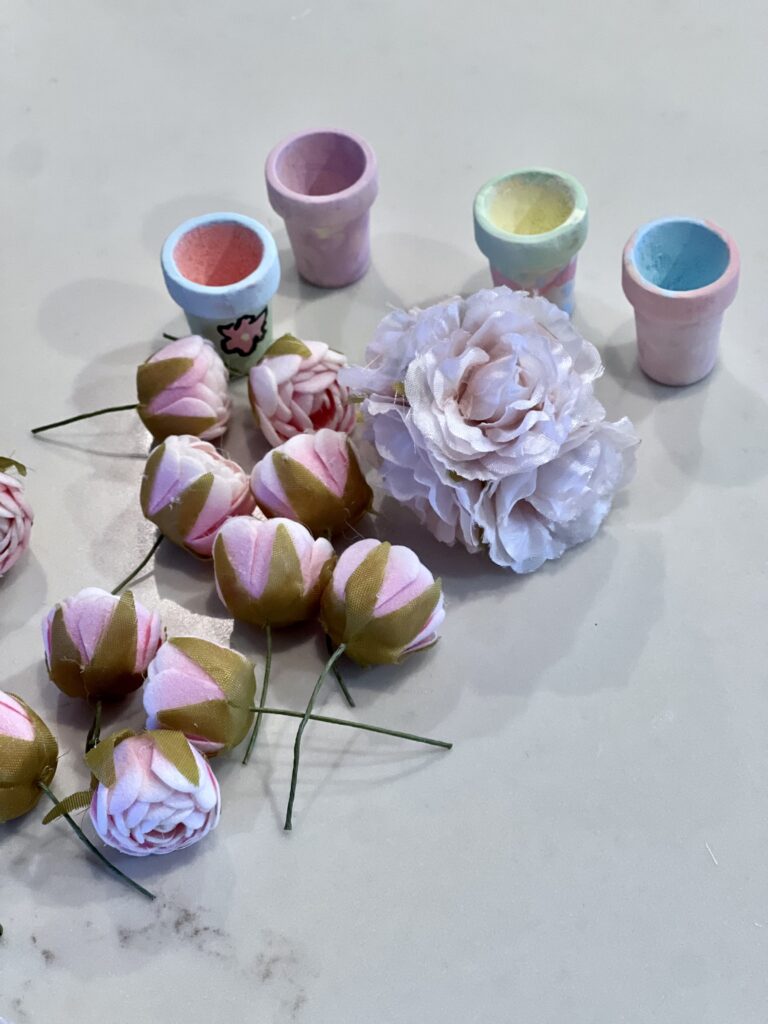
When I saw the little wood flower pots, I immediately thought of our dollhouse. They were very simple to decorate and put together. My daughter painted the pots with acrylic paint. Once dry, she put a little brown air dry clay in each pot and then stuck the mini flowers in each pot. We left the pots overnight to cure before putting them in the dollhouse the next morning.
My daughter and I had a lot of fun doing this project together. I think it’s very likely we will do it again.
Advent Day 1 – Our Maileg Christmas Chalet

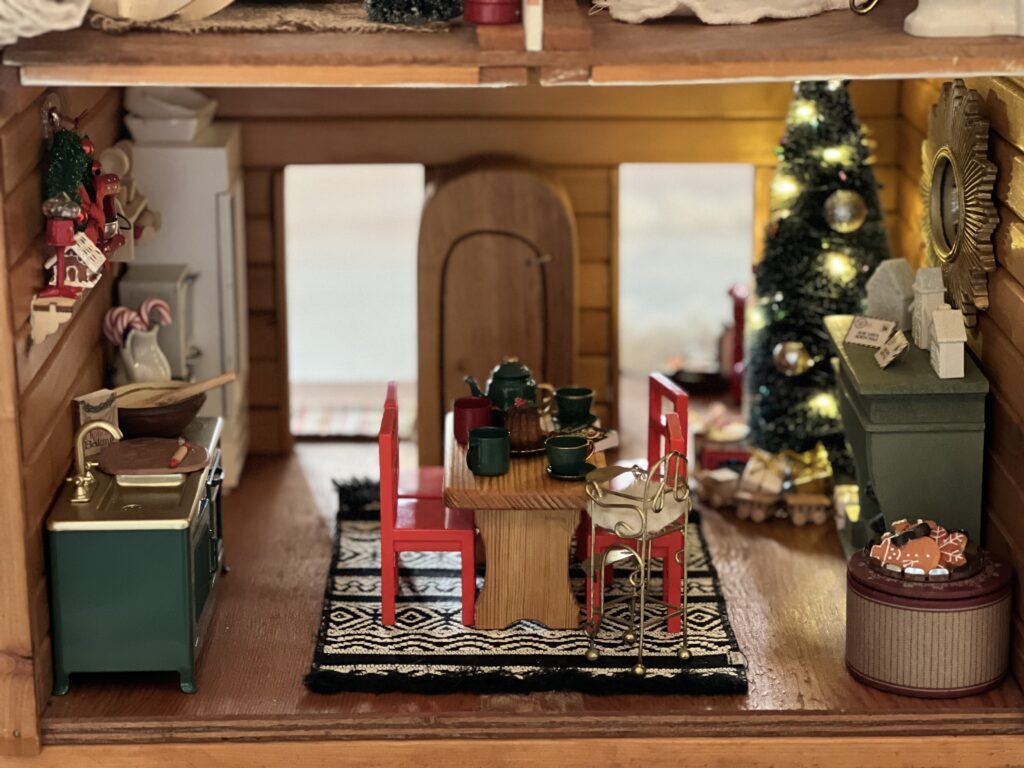
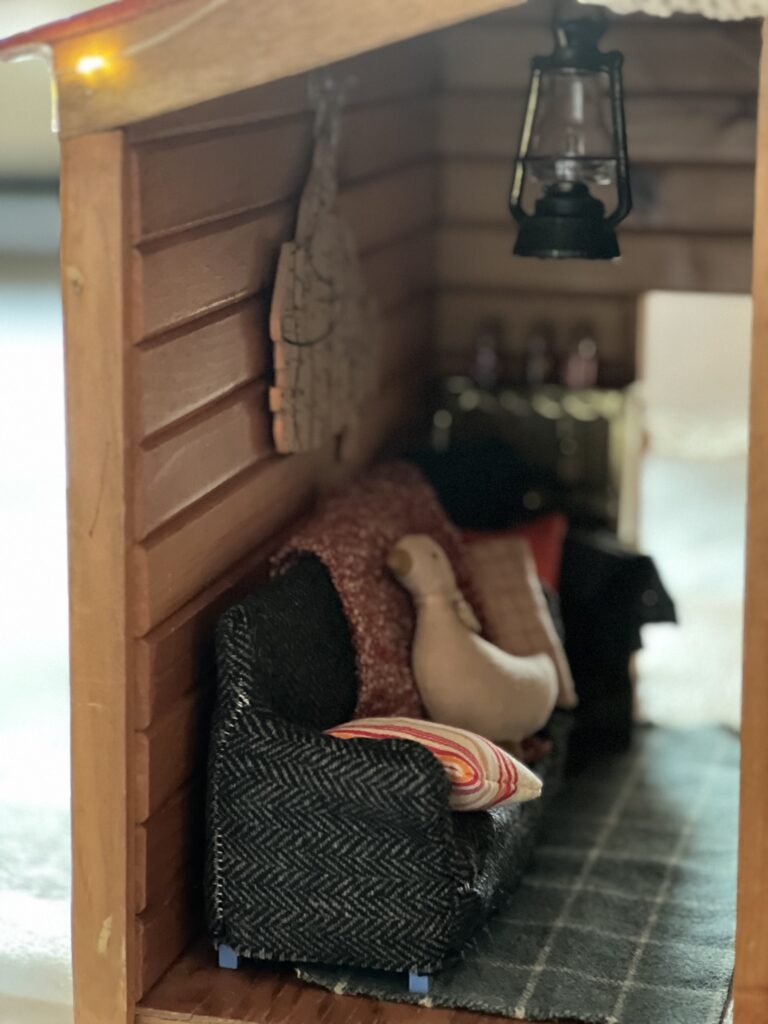
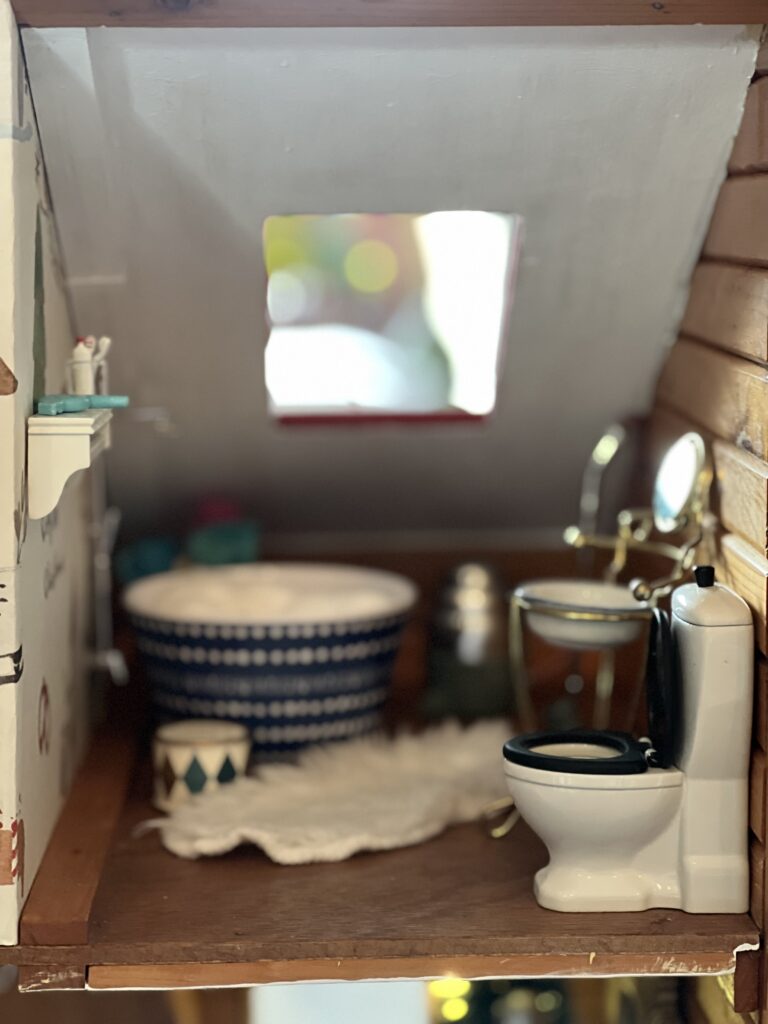
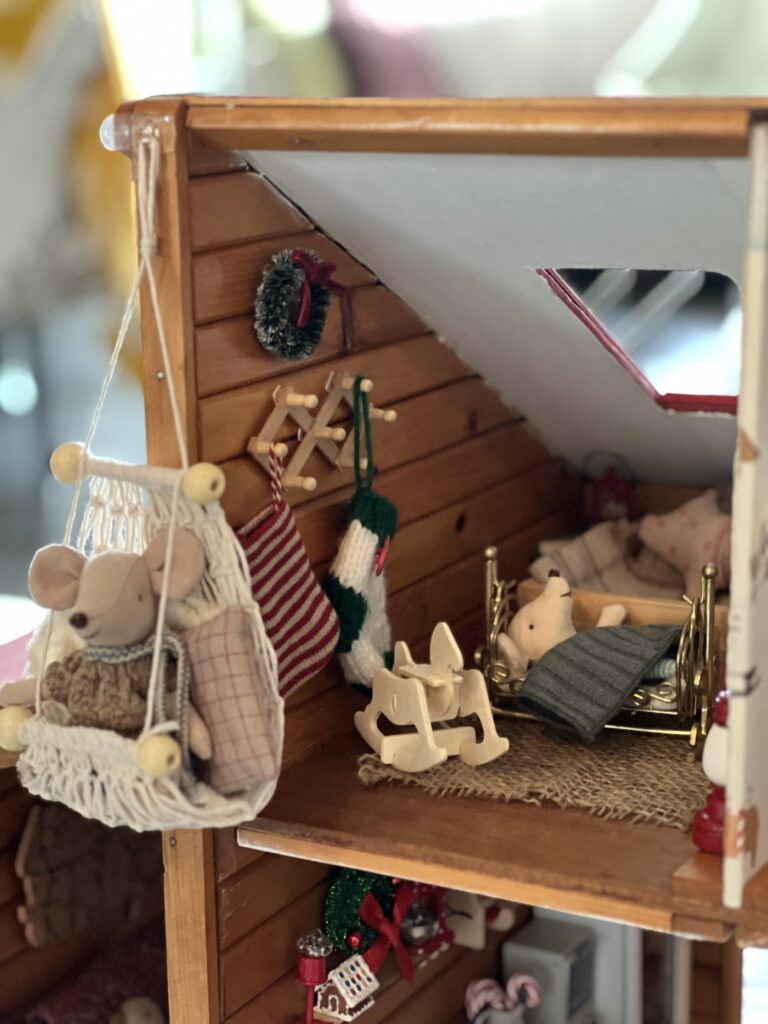
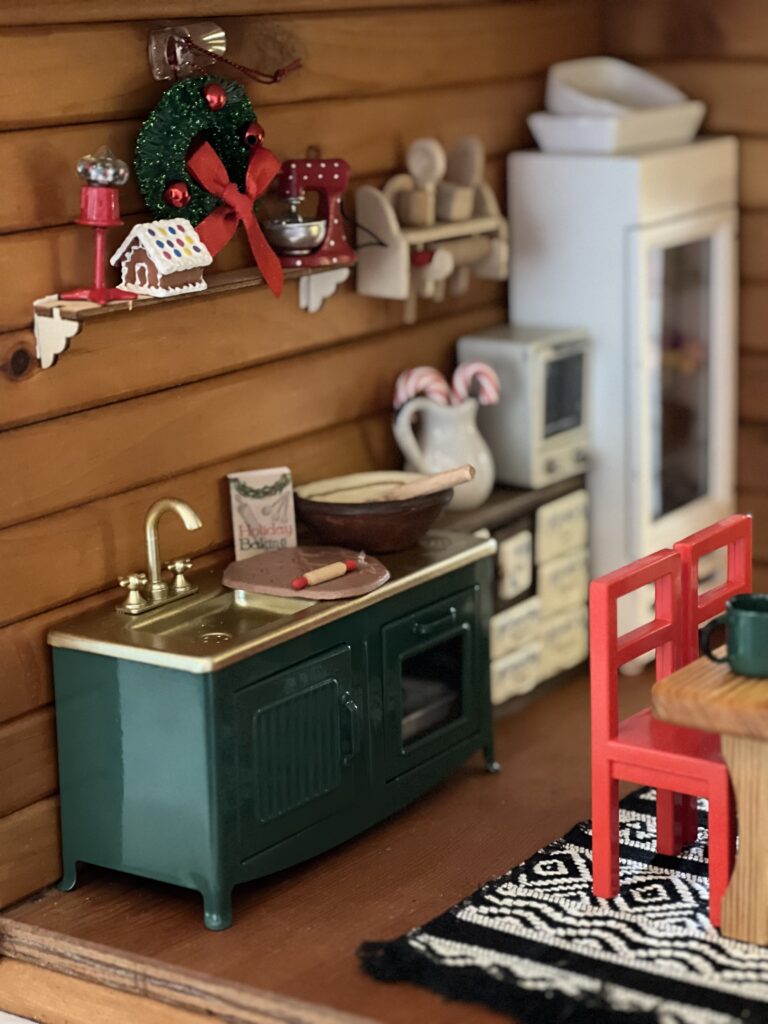
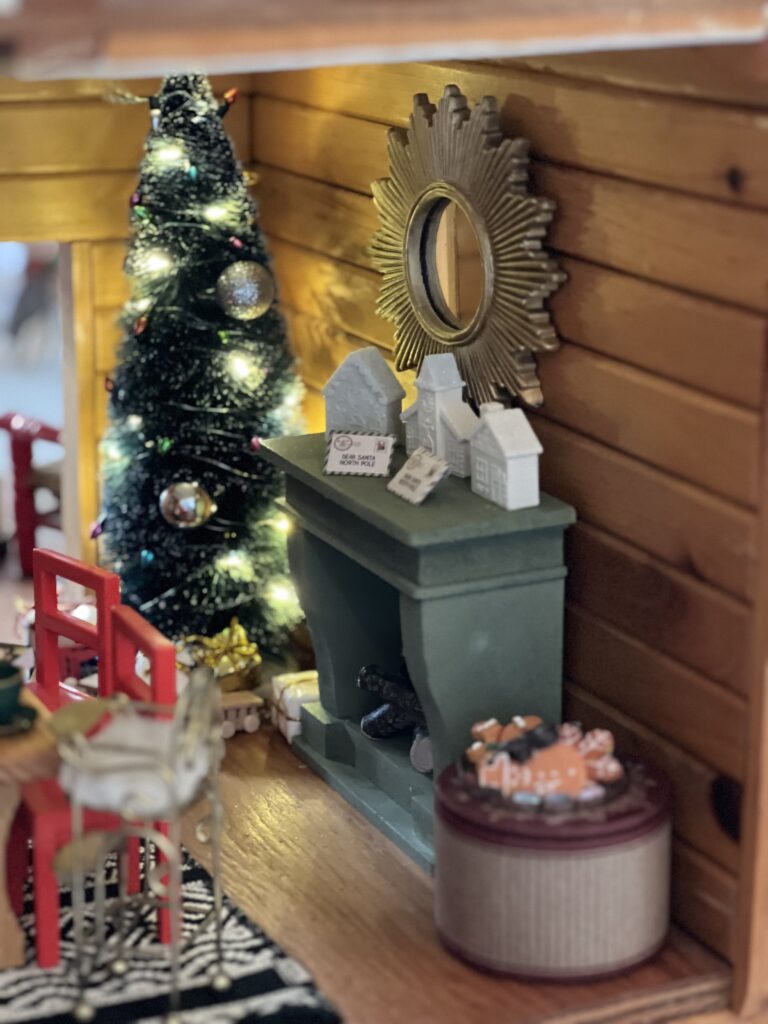
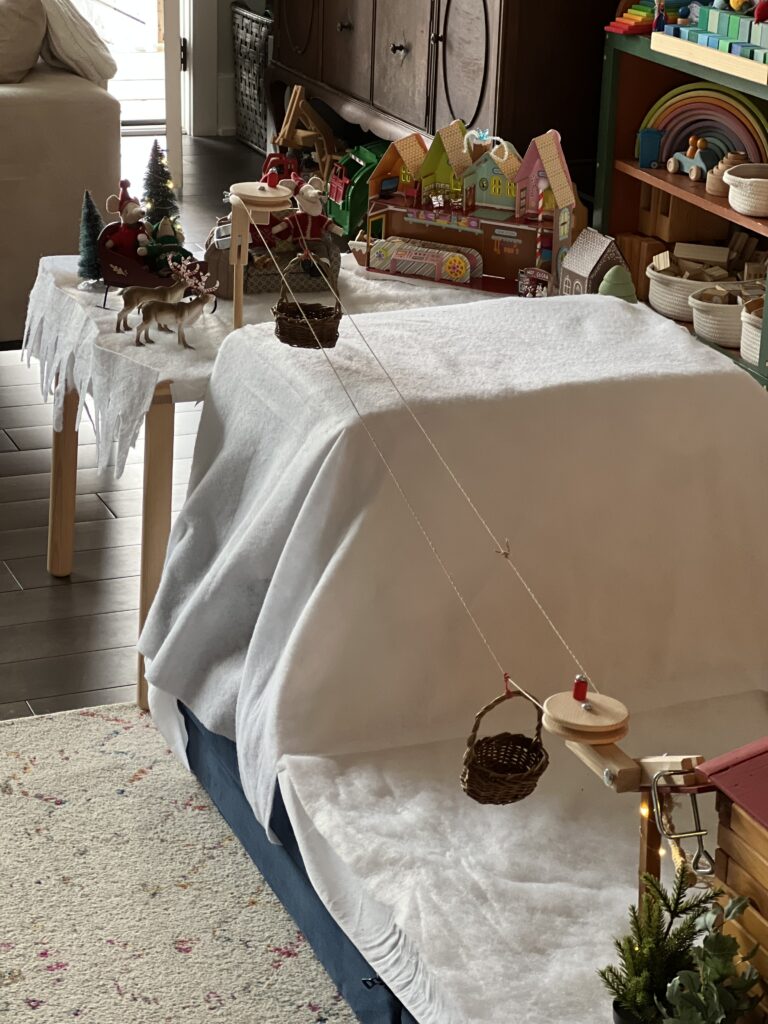
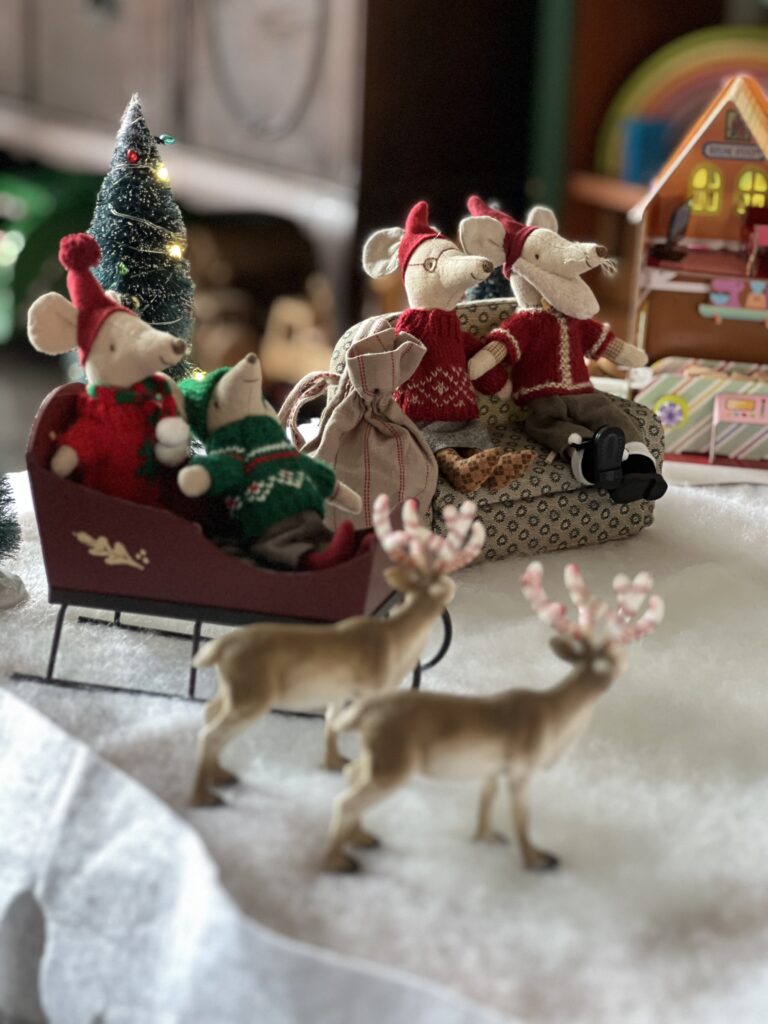
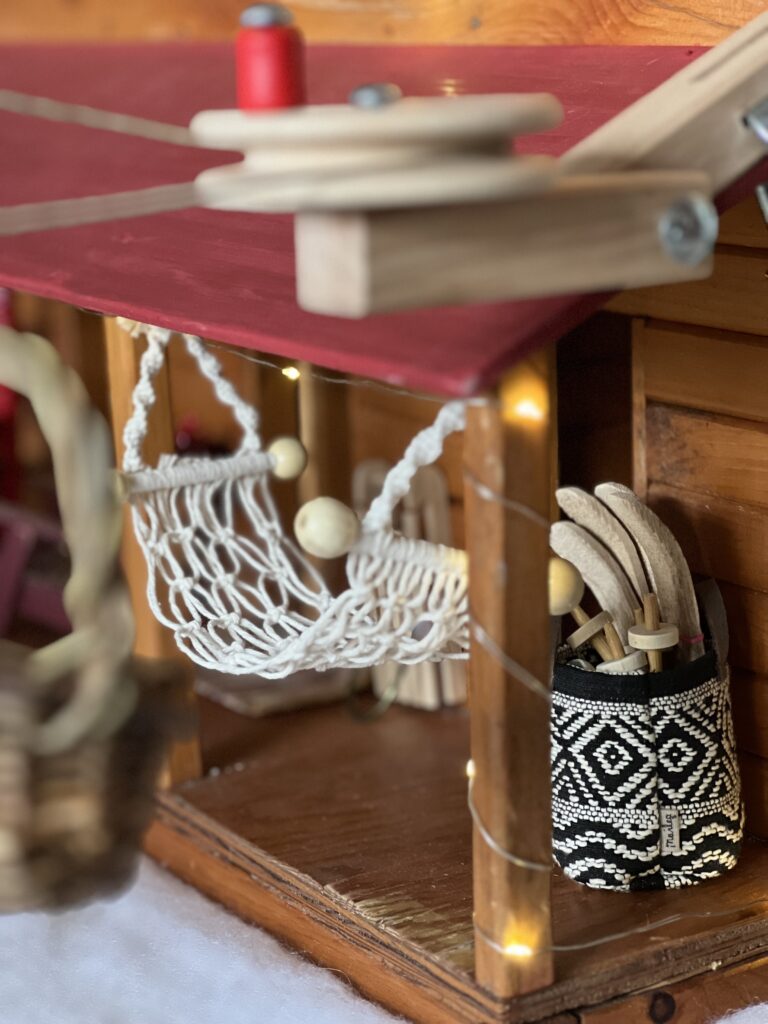
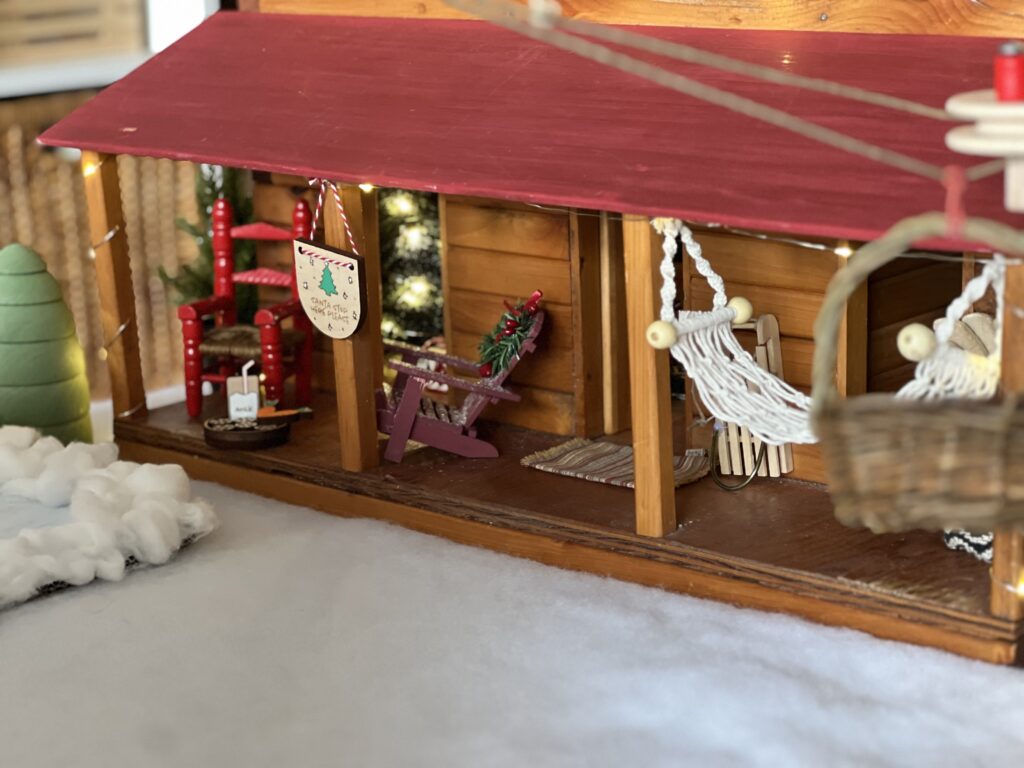
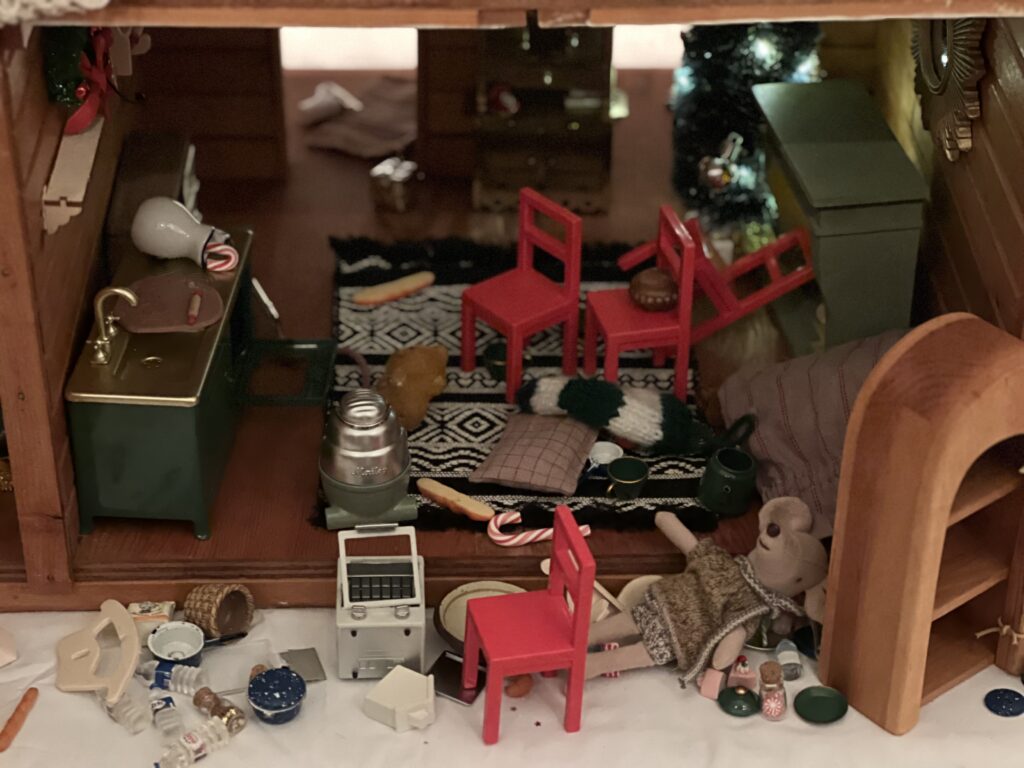
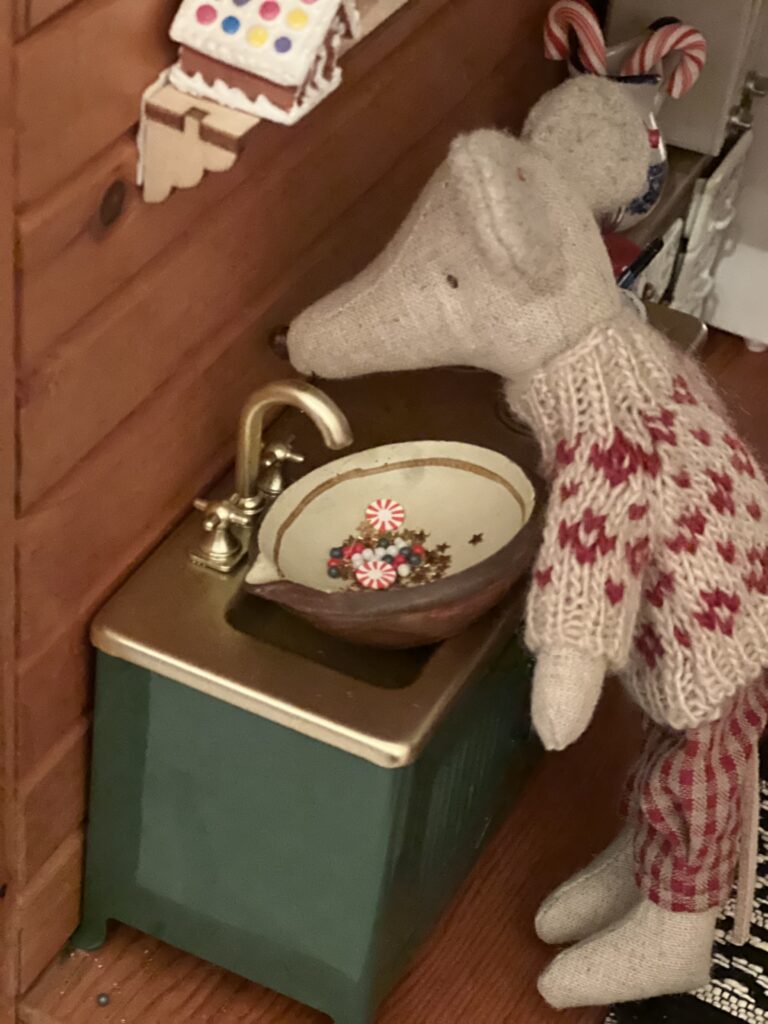
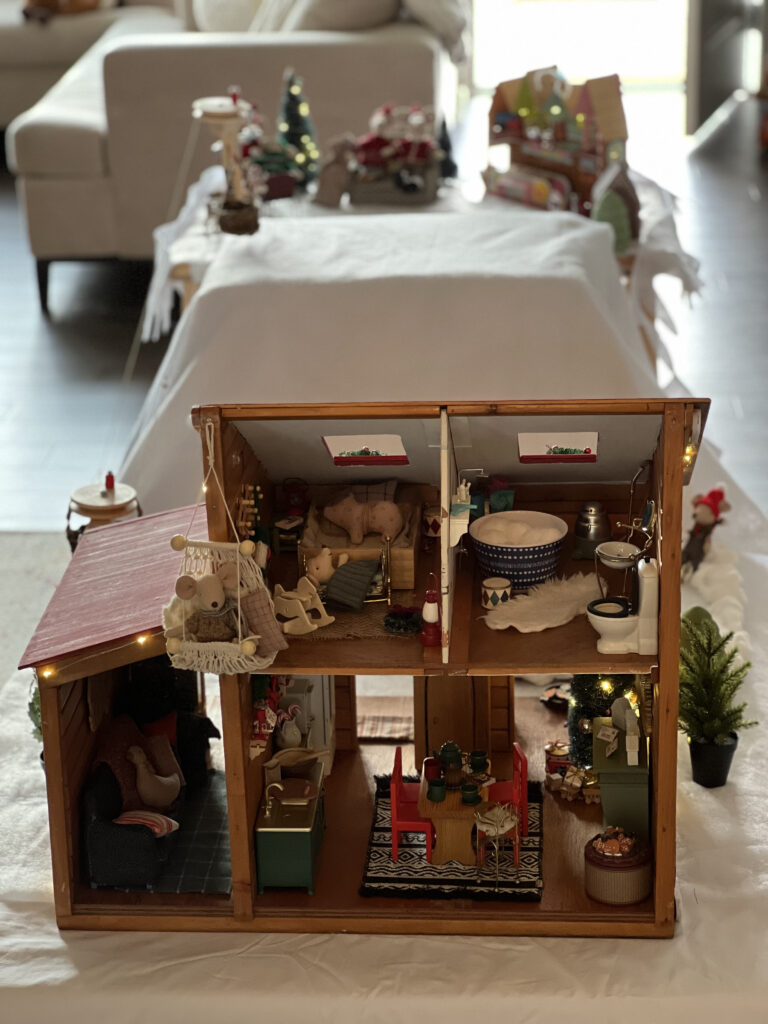
The first of December started off big with our Christmas Chalet play scene. We got our ski chalet dollhouse last December and the kids loved playing with it up until Christmas. They’ve been asking when it will make an appearance again this year. I bring it out on the first day of the month so we can get lots of play with it before Christmas. The house itself was a thrifted $25 Marketplace find that I fixed up with a bit of paint and “wallpaper” (wrapping paper). A few things are new, but many parts of the set up are toys we already had and have been rotated out of play for a while, so they will seem new to the kids. The whole scene is propped up on our Nugget couch pieces, with some white fabric and snow blankets on top.

Both my kids love the tiny details and, thank goodness, they are finally at ages (3.5 and 5.5) when I don’t have to worry about them putting things in their mouths. This year, I added a bunch of tiny extras for them to discover and to compliment their tiny play scenes.

Of course, it’s not a ski chalet without a ski hill. My 5.5 year old daughter loves to ski and my 3.5 year old son will be starting this year (fingers crossed). We all love toys that allow re-enacting things from our real life. The basket “ski lift” (from Kraul) was a Christmas gift for my daughter last year. The kids have loved using it to carry their mice and other treasures up the hill. And when they get to the top, what could be more fun than a little Santa and Mrs. Claus village? My daughter already made the Michaels Santa’s Workshop this year and I thought it would be a fun addition to the North Pole.

When the mouse family needs a change from skiing, they can put on their skates and try out the skating rink. The rink is a DIY my daughter and I made last year of cardboard, paint, glitter and cotton balls.

And the gift for today? The Mom and Dad Winter Mice from Maileg, complete with their own skis. I think the kids have had as much fun playing with it as I had creating it.

And just to prove how much kids enjoyed this little scene, here’s a proof-of-play photo.

The highlight for my daughter has been using tiny loose parts in jars to “cook” in the kitchen. I had not anticipated the jars being opened and dumped out, but I took a deep breath and reminded myself that the mess is worth their delight. Happy first day of advent.

Pixy Update

The pixy arrived sitting on top of the kids store-bought advent calendars. With all the excitement this morning, they didn’t seem to notice the pixy much. I’m going to continue to play it low-key. I think it will make it more exciting for the kids when they realize he moves around.