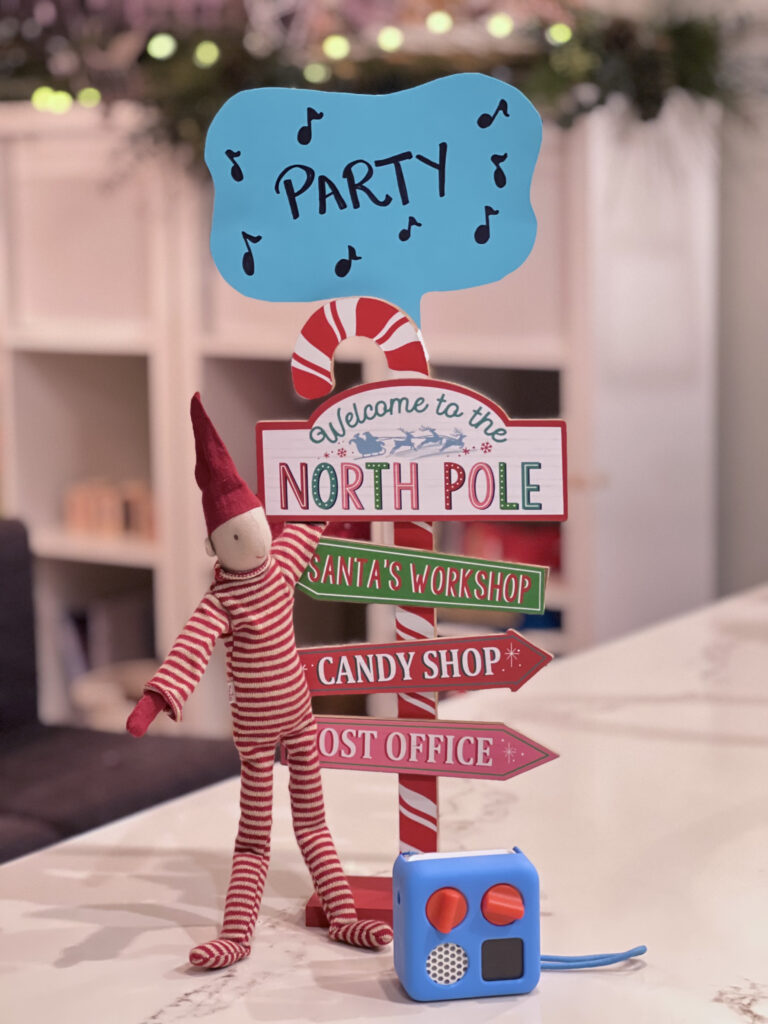
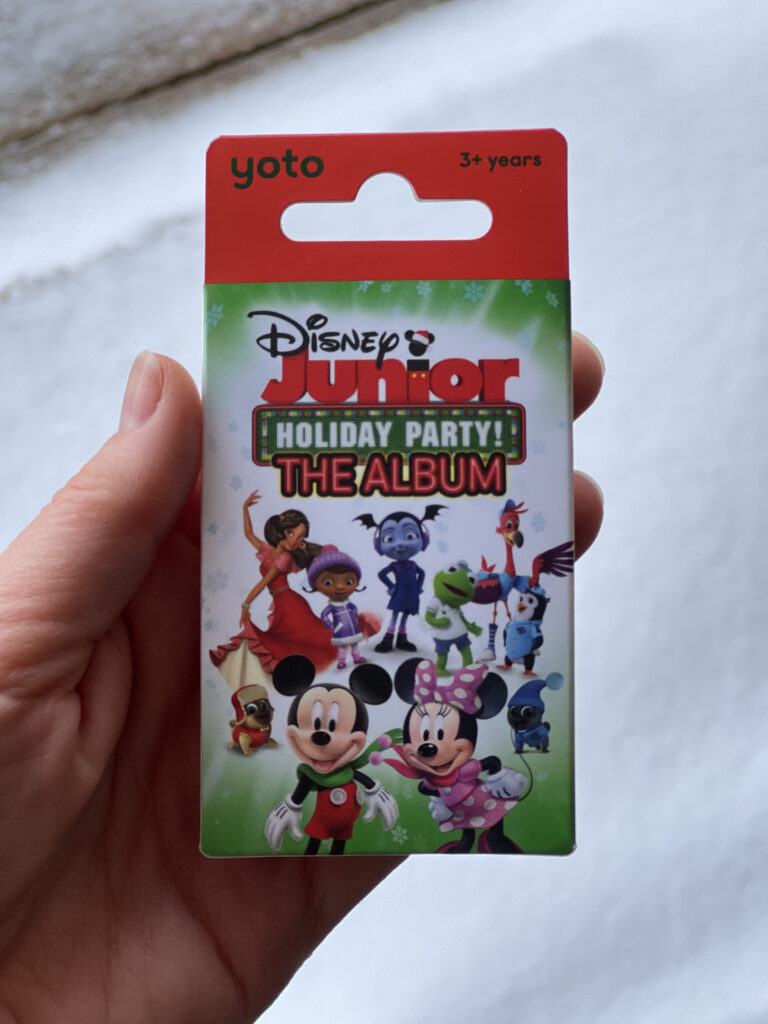
We had a dance party this morning with some new Christmas music. The elf was all ready for a party in the morning and the gift in the Maileg Santa Advent Calendar was a new yoto card: Disney Junior Holiday Party! The Album.
The party started off a little rough, with lots of fighting over who the new yoto card belongs to, but thankfully became more cheery after some breakfast. The kids enjoyed the new music card and wanted to listen to it on repeat this morning. I think it will add some fun Christmas spirit to the house this week.
Thank you to my December self for choosing a simple activity for Monday morning, on the week before Christmas.
The elf arrived in the morning with a basket of snowballs and a sign challenging them to a snowball fight.
Wooden sign from Eye Spy Club, snowballs from Dollarama
When my kids were a little younger, I used to stuff a few of these snowballs in their stockings to help fill them up. As a result, we’ve amassed a small collection. Just enough so the kids could burn off a bit of energy this morning with a snowball fight.
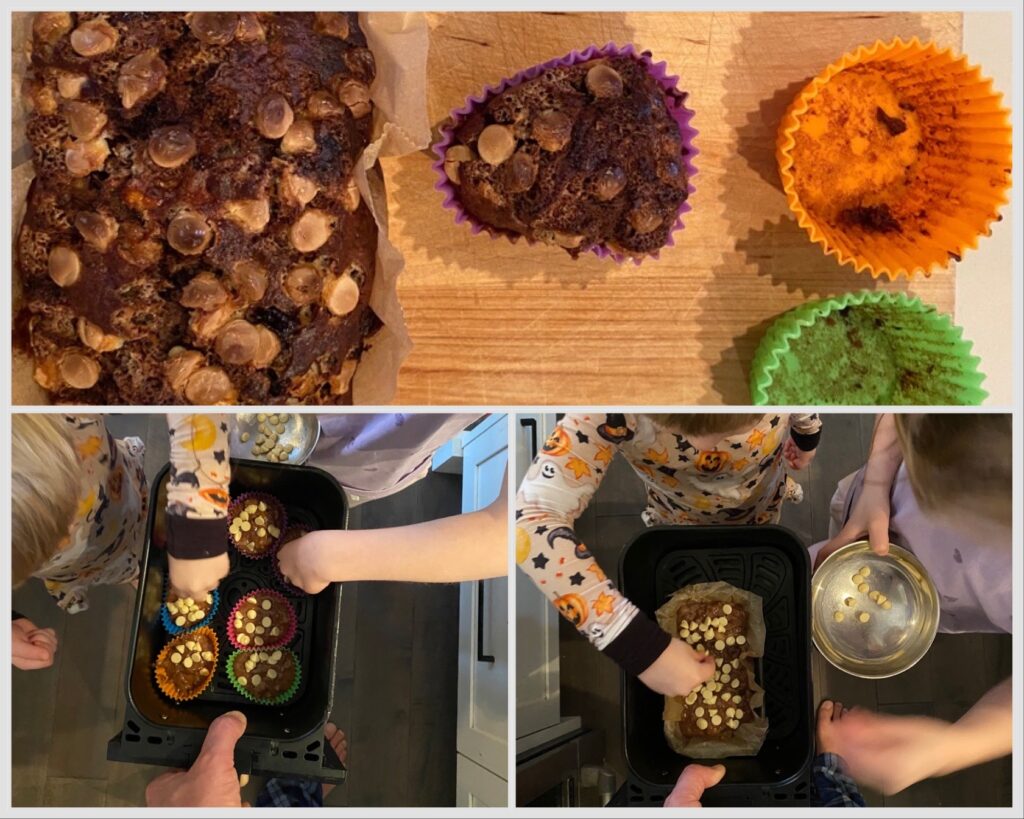
Made the house smell great. Add cocoa and a little extra sugar to typical banana bread recipe. Top with white chocolate chip and toss into the air fryer.
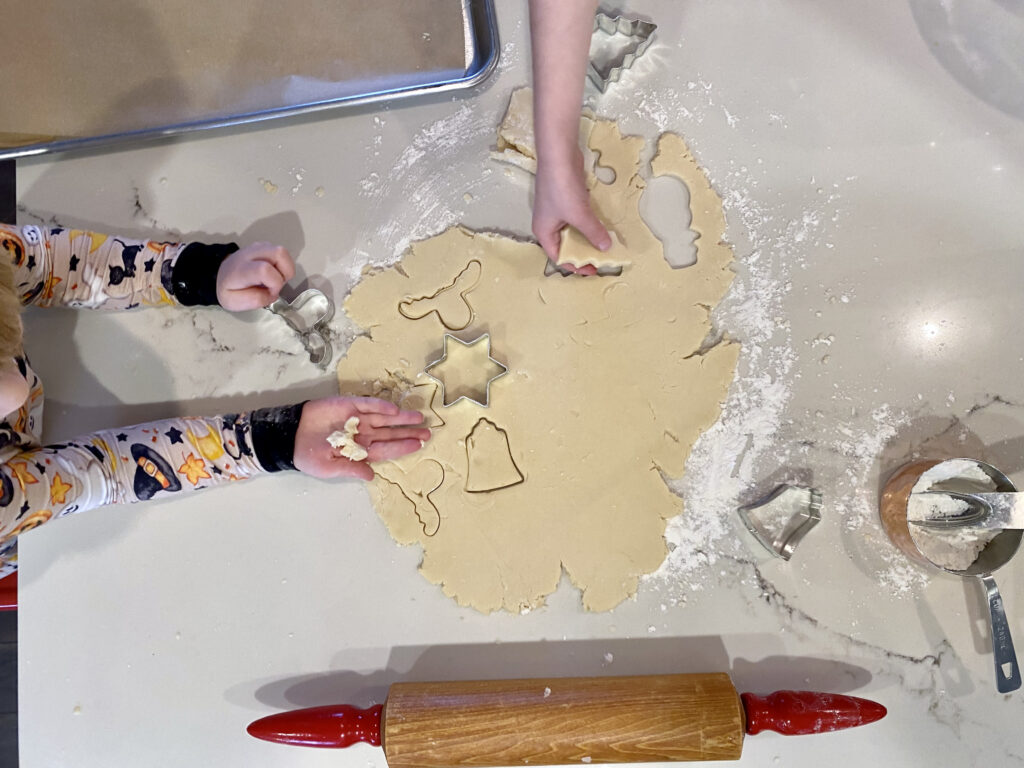
After a very long day yesterday, we are happy to spend this Sunday at home. Today’s activity is to bake some Christmas cookies. I intentionally planned to bake on a weekend so we would have lots of time to make a mess and then clean up after. The luxury of extra times makes the mess less stressful for me.
The elf kicked things off with some baking themed mischief this morning.
I definitely could have made this scene more elaborate, but after a full day of solo parenting yesterday (my husband was super sick), this was all I could muster last night.
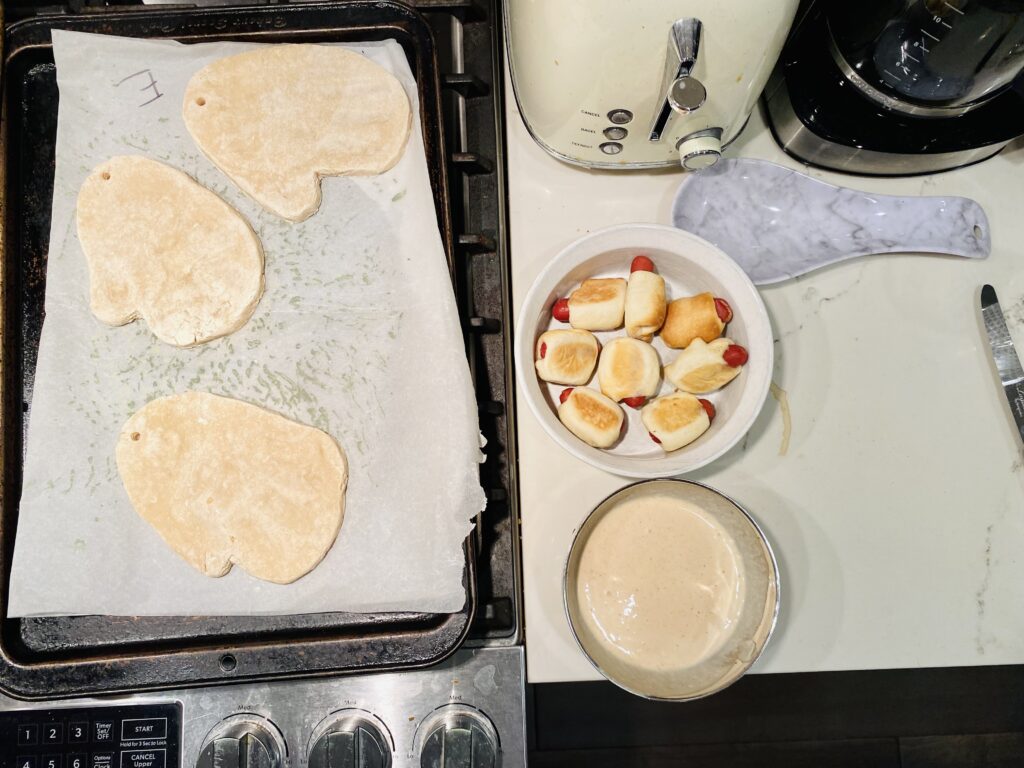
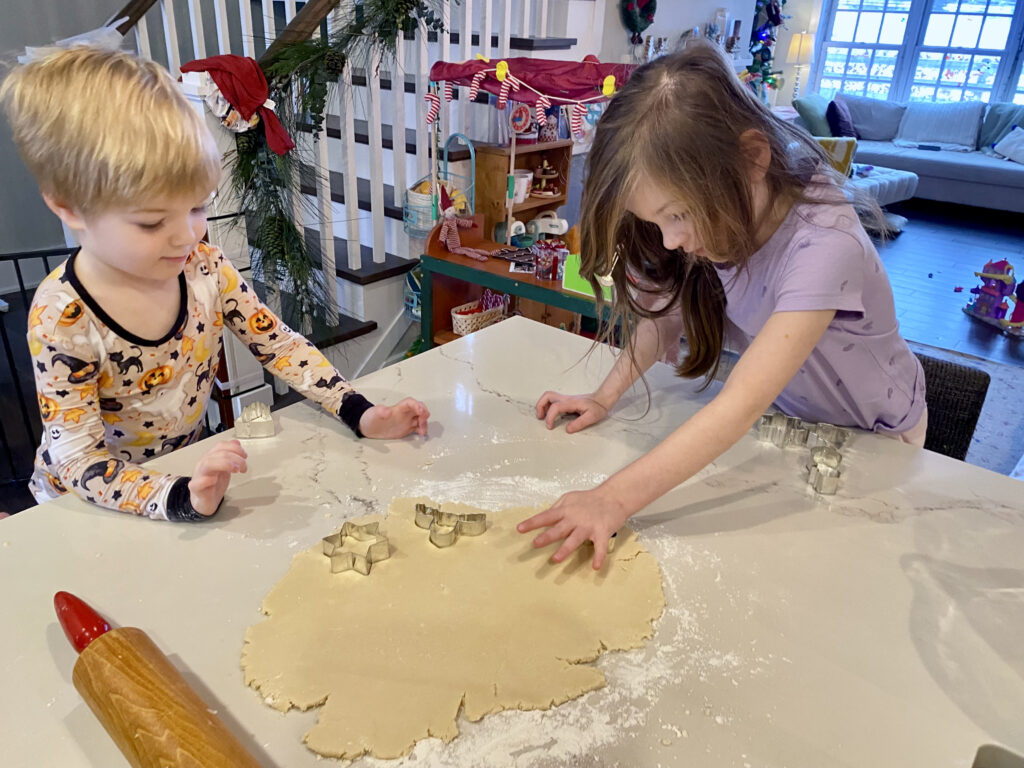
We made some easy shortbread cookies with a recipe passed down to me from my mom’s friend (see below if you’re interested in the recipe). The kids had fun cutting out the shapes and trying to get them onto the pan. My 3 year old participated for about 5 minutes and my 5 year old for 10 minutes, so I was pleasantly surprised that it was a fairly quick activity. I think sticking with an easy recipe was a good choice for us. We can get more fancy as the kids get older and have more experience with baking.
Baking Christmas cookies in Halloween pajamas.Shortbread ready to go in the oven
Recipe for Janet’s Shortbread
1 cup butter
2 1/2 cups all purpose flour
1/2 cup berry sugar
Combine and cream butter and sugar. Add 2 cups of flour and mix. Add remaining 1/2 cup of flour only to the point needed (I usually only use 1.5 tbsp).
Roll out 1/4″ and cut out. Place on greased cookie sheet.
Bake at 325 degrees F for 20 minutes (or until slightly brown).
It’s the weekend and that means we have out-of-the-house activities to do today. The kids have their last horseback riding lesson of the year in the morning and, in the afternoon, they will be going to their grandparents’ condo for a festive movie and treats in the building’s movie theatre.
The elf was watching his watching his own movie in the dollhouse this morning and even managed to find some popcorn. My daughter thought this was hilarious.
I love seeing what other people buy their kids for holidays. It’s great for finding new ideas and for just satisfying general curiosity of what other people do. Literally, no one I know but me and my kids care about what is going in their stockings. My husband is not that interested in what gifts they get. So, finding out what other people are giving feels like an almost conversation with other mom’s about holiday gift giving. Being a mom can be lonely.
So here is my contribution. What I’m putting in my 5 year old daughter and 3 year old son’s stockings. Disclaimer: I am not affiliated with anyone, nothing was free (unfortunately), and I’ve used my own money to purchase all these gifts.
Another quick note about my strategy for buying gifts: I am someone who shops all year for all the holidays. I used to think the people who started Christmas shopping on December 26th were crazy, but as is usually the case when I think in absolutes – the opposite has become true and I am now one of those crazy people. I like to support small shops, which means items are not available all year – especially right before holidays. Continuous shopping also helps spread out the spending and most importantly – I love a sale. So I buy things throughout the year when they go on sale.
Here are my finds for 2023. I will link the store and item (if available) in case you’re curious where I bought them.
5.5 year old girl (loves unicorns, frozen, art and sparkly things)
*Writing this post has made me realize the kids stockings are uneven. How does that always happen? So I’m also going to add the Brio Light Up Gold Wagon to my son’s stocking.
It’s Gingerbread Day! I’ve been looking forward to this one. My daughter has been talking about making a gingerbread house since the start of December. We will make our real gingerbread house tonight after school, but to help get us in the gingerbread mood (in a less messy way), I had a special surprise for the kids this morning. I made some handmade gingerbread blocks. I think they turned out so adorable, so I was really excited for the kids to discover them this morning.
If you’re interested in how I made them, you can read about it here.
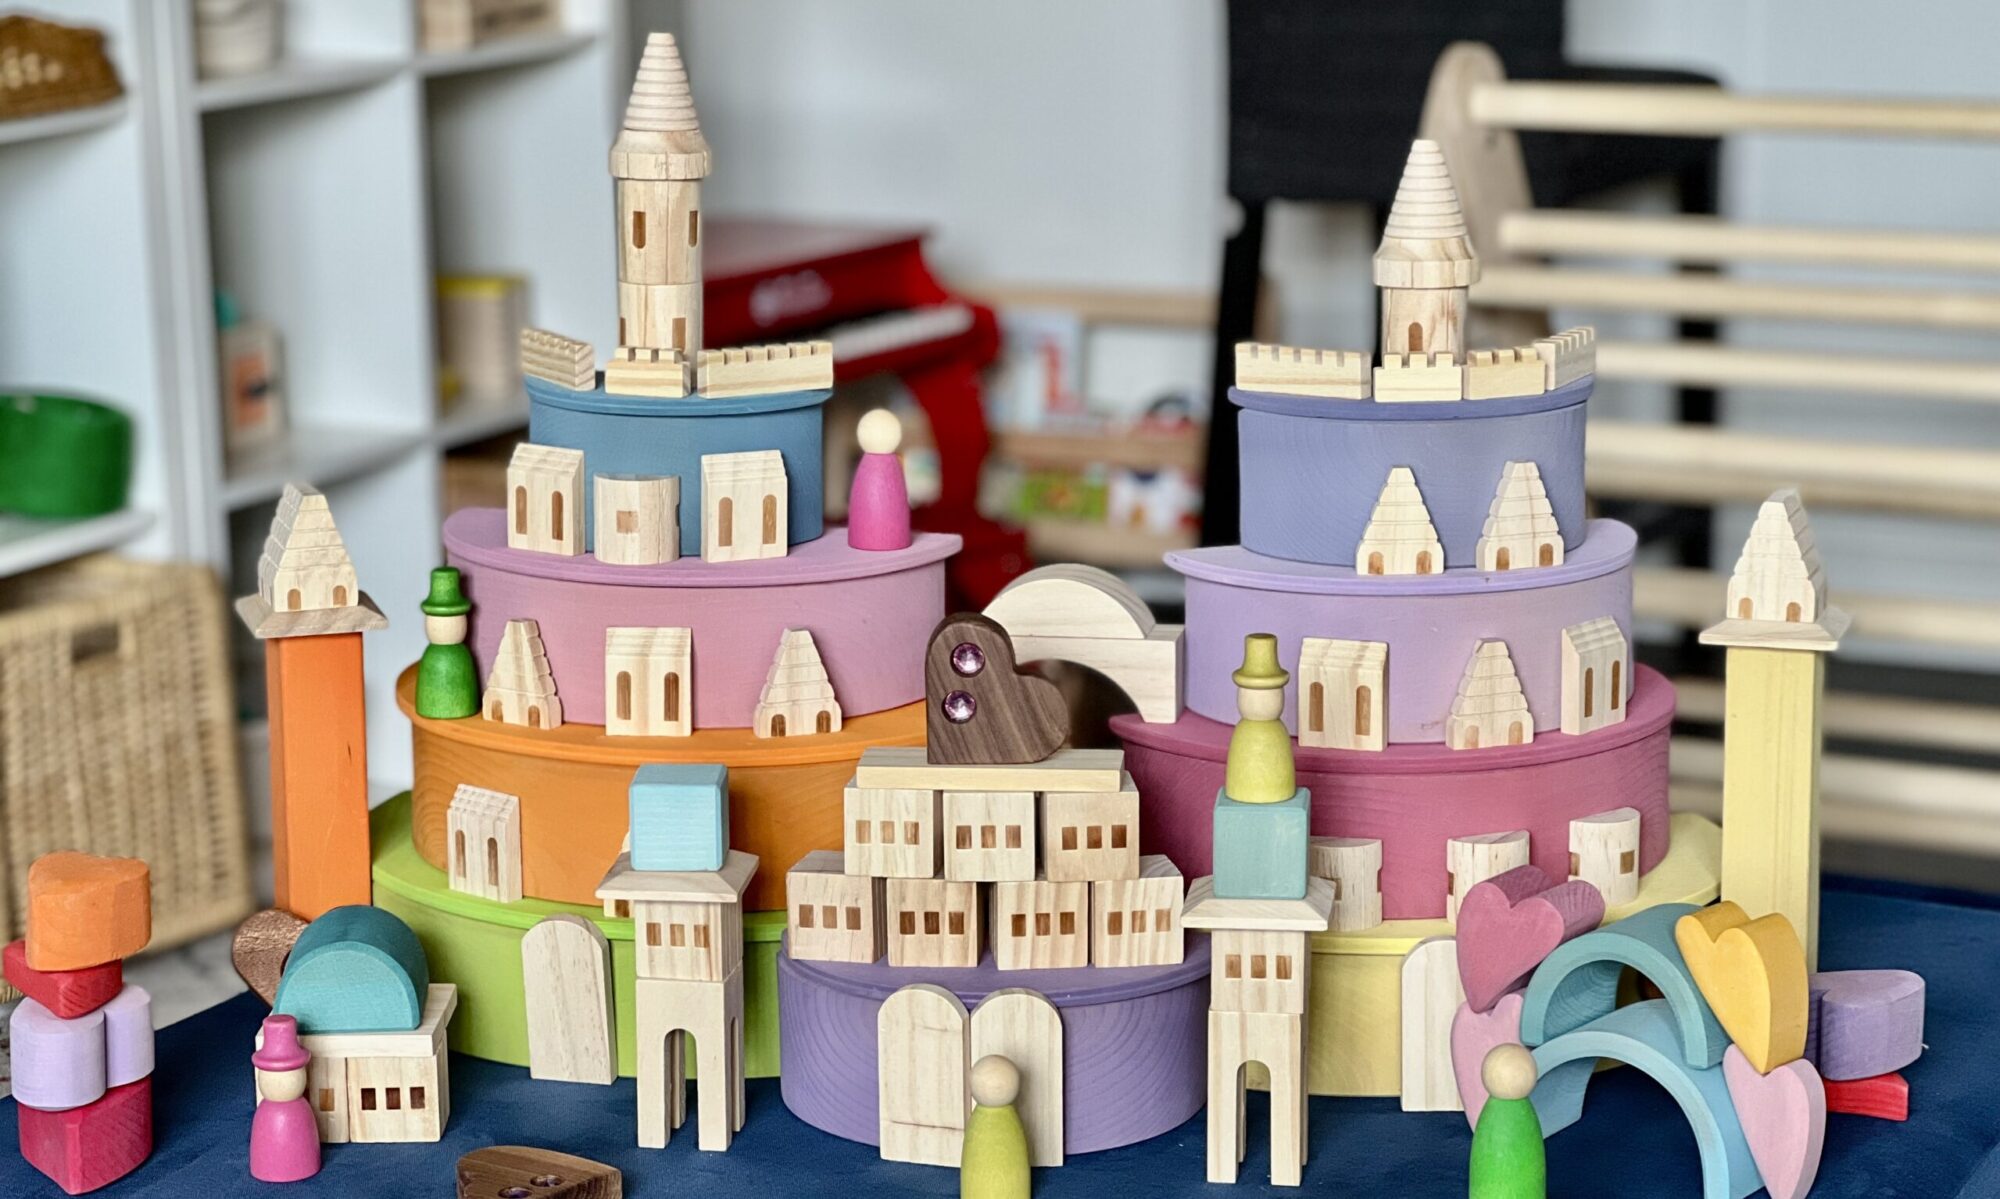
The elf was hanging out with the new blocks, plus a few other handmade goodies (not by me) that I just received from the second-hand toy store Wonder + Kind (Little Step Co. stackers and Island Peg Doll pegs and houses).
I am onboard with the gingerbread trend. Gingerbread has so many possibilities for creativity, plus it’s a yummy food – what’s not to like?
I had been looking for a wooden, buildable gingerbread house since last year. The closest ready-made options I found were the Everwood Friends holiday blocks and Guidecraft notch blocks. However, I’m in Canada and both options with shipping and exchange were out of my budget. Then I saw a fantastic idea on instagram from Moore to Love in Kinder; she made gingerbread blocks using inexpensive wooden blocks from Dollarama. They looked so cute, that I thought it was worth a try.
I found that they were time consuming, but did indeed turn out adorable. Worth the effort I think. Here’s how I made them.
Step 1: Buy Blocks
I purchased two sets of wooden blocks from Dollarama. Each set was $4.
Step 2: Sand Blocks (optional)
I chose to give the blocks a quick sand first, since they are very cheap blocks and I wanted them to have a better feel. I also wanted to slightly round the corners so they weren’t so sharp. The wood in these sets is very soft, so the sanding didn’t require much muscle. Once sanded, I gave the blocks a quick wipe with a damp rag to remove any excess sawdust.
Step 3: Mix paint
To get a gingerbread colour I liked, I mixed Cinnamon Brown (from Dollarama) and Raw Sienna (from Michaels), but you could use any combination of browns, reds and yellows to get the colour you like. My paints were in matte, which I think does help create the gingerbread look.
Step 4: Paint the blocks
There is lots of room for personal preference in this step as well. I choose to paint 2 sides of each block and left a thin border of wood around each. I just free-handed it, but you could tape the blocks in the areas you don’t want paint, or paint the whole block. I do not have the steadiest hand, but the free-hand was fairly easy and I got better at it as I went. I found I needed two coats on each side to cover the blocks evenly. After painting, I let the paint dry well before proceeding to the next step.
Step 5: Paint wooden cylinders
I covered the cylinders with a coat of white paint, let it dry and then added some candy cane and peppermint details with bright red paint and a thin brush. Since my hand isn’t the steadiest, I found the straight lines difficult, so I tried a few other designs.
Step 6: Add white gingerbread details
This was really the fun part. I was a bit nervous to make marks on the blocks I had put so much time into, but once I got going I found it was easier than I thought. I used a white acrylic paint pen (also from Dollarama). Here is where you can let your imagination run.
Step 7: Cover with Mod Podge (optional)
I haven’t done this step yet, because I didn’t have any matte Mod Podge on-hand and I wanted to keep the matte look. However, I may still do it to protect the blocks. It’s probably a good idea to seal in all your hard work.
So that’s it. Like I said, it doesn’t require a high skill level, but it did take me a few days of work. The good thing is once they are done, they will last for years of play.