It’s the weekend before Christmas and we are all struggling to stay healthy. We’re trying to make it along the final stretch with our Christmas Spirit in tact.
I was feeling terrible last night so I went with a very simple elf set-up: the elf sitting on Santa’s knee for a little pre-Christmas chat. Next year I will definitely have a few of these simple ideas in my back pocket, just in case.
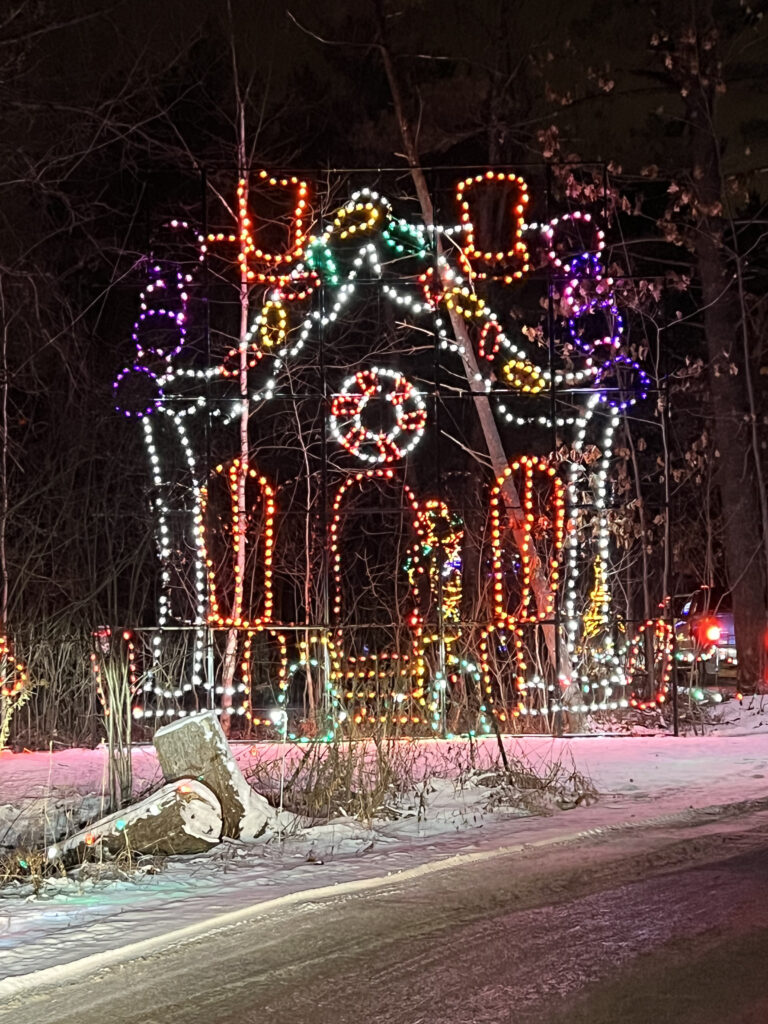
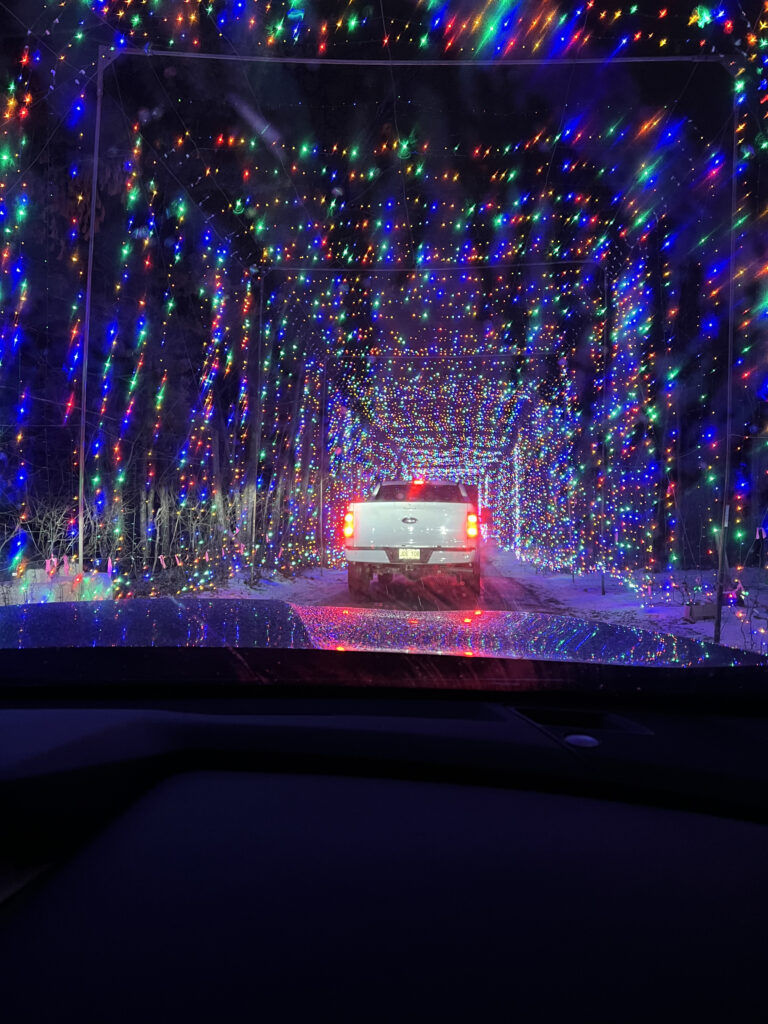
Today’s activity was to go to the grandparents for Christmas dinner and then all go to a drive-through Christmas lights show. It was my first time going to see this kind of event and it was fantastic! We went to the Magic of Lights in Ottawa and there was about a 20 minute line up to get through the gate and then the lights drive took about 20-40 minutes. A perfect activity for a drizzly night with kids not feeling their best.
I don’t always have the budget to buy fancy sensory mixes, but I love the look of them and my daughter loves the variety of shapes, colours and textures in the more complicated mixes. She likes to make patterns and art with them. I have been learning to make sensory mixes myself and I am sharing what I’ve learned so far.
There are 2 ways I know of to colour pasta, rice, lentils and other dried goods: dying and painting.
Dying Pasta (also works for rice and other dry goods)
Dying pasta is an easy was to colour pasta or other dry goods. I choose dying as my method is the pasta is fine or fragile and I’m concerned about it sticking together.
Materials
food dye (gel or liquid)
vinegar
pasta (or other dry good)
bowl with a secure lid
parchment paper
baking sheet
Step 1: Add dye to bowl
Add a glob of dye to the bowl. The more dye used, the more saturated the colour will be.
Step 2: Add a splash of vinegar
The measurement doesn’t need to be exact, but add about a tbsp or two of vinegar. Mix the vinegar and dye together.
Step 3: Add pasta
Add around 2- 3 cups of pasta to the bowl. Do not overfill the bowl with pasta as it will be more difficult to mix with the dye.
Step 4: Shake
Secure the lid on the bowl and shake until the dye covers the pasta. If the dye looks uneven, add another tbsp of vinegar.
Step 5: Dry pasta on parchment paper
Empty the bowl onto a baking sheet lined with parchment paper. Spread the pasta out on the paper. Dry overnight.
Painting Pasta (or other dry good)
Painting pasta is the other method for colouring dry goods. There are many, many paint colours available and I tend to choose this method if I’m hoping for a specific colour, or a colour that is not easily achieved with food dye. I find the drawback to this method to be that the paint can make the pasta, rice, etc. can stick together and sometimes break when trying to separate it. I am still searching for the trick to avoid this.
Materials
acrylic paint (I used paint from Michaels or Dollarama)
pasta, rice or other dry good
ziplock bag (or bowl with a lid)
parchment paper
baking pan
Step 1: Place pasta in ziplock bag
Place 2-3 cups of pasta in a ziplock bag.
Step 2: Add paint
Add a squirt of paint. The more paint, the more saturated the colour, but also the higher the risk of the pasta sticking together. I like to add a little paint at a time to make sure I don’t add too much.
Step 3: Shake
Seal the bag and shake, shake, shake until the paint is evenly spread around. Check the colour and add more paint as required.
Step 4: Dry
Once the desired colour and coverage is achieved, empty the bag onto a baking pan lined with parchment, spread out as much as possible and leave to dry overnight.
The green fine egg noodles, green penne pasta and brown pasta were dyed. The white pasta and red chick peas were painted.
So that’s all it takes to colour pasta and other dry goods. Once everything is dry, you can mix it together and add any other embellishments or extras that you wish.
I like to minimize my waste in the process, so I wash the bowl and ziplock bags for future use. Both the food dye and the paint come off easily if washed soon after colouring. I keep the washed and dried ziplocks with my sensory mixes ingredients so i can remember to use them next time.
My son loves Blippi, so when I saw a little elf Blippi costume for sale at a second-hand toy shop (Wonder + Kind), I had to get it. The elf dressed as Blippi made his own mini indoor play gym to enjoy. My son thought it was hilarious.
Day 22’s activity is to make some reindeer food. In keeping with the reindeer theme, 2 Schleich reindeer (special editions 2022 and 2023) were gifts in the Maileg Santa Advent Calendar.
We’ve never made reindeer food before, but I always thought it looked like a cute, sensory idea for the kids. I didn’t buy anything special. I knew I had rolled oats in the cupboard and I just scrounged around for anything else Christmas-y in the baking cupboard. I found some green sugar sprinkles and some old candy canes that I crushed up. Hopefully none of the ingredients are too offensive to our wildlife.
I gave the kids small spoons to scoop the ingredients into their bowls. It’s a Friday afternoon after a very busy week and I wasn’t feeling overly enthusiastic about doing an activity, but I was pleasantly surprised. The whole activity took 5 minutes, max. It was easy, fairly mess free and the kids enjoyed it. I stored the reindeer food in ziplock bags until the kids can sprinkle it outside on Christmas Eve.
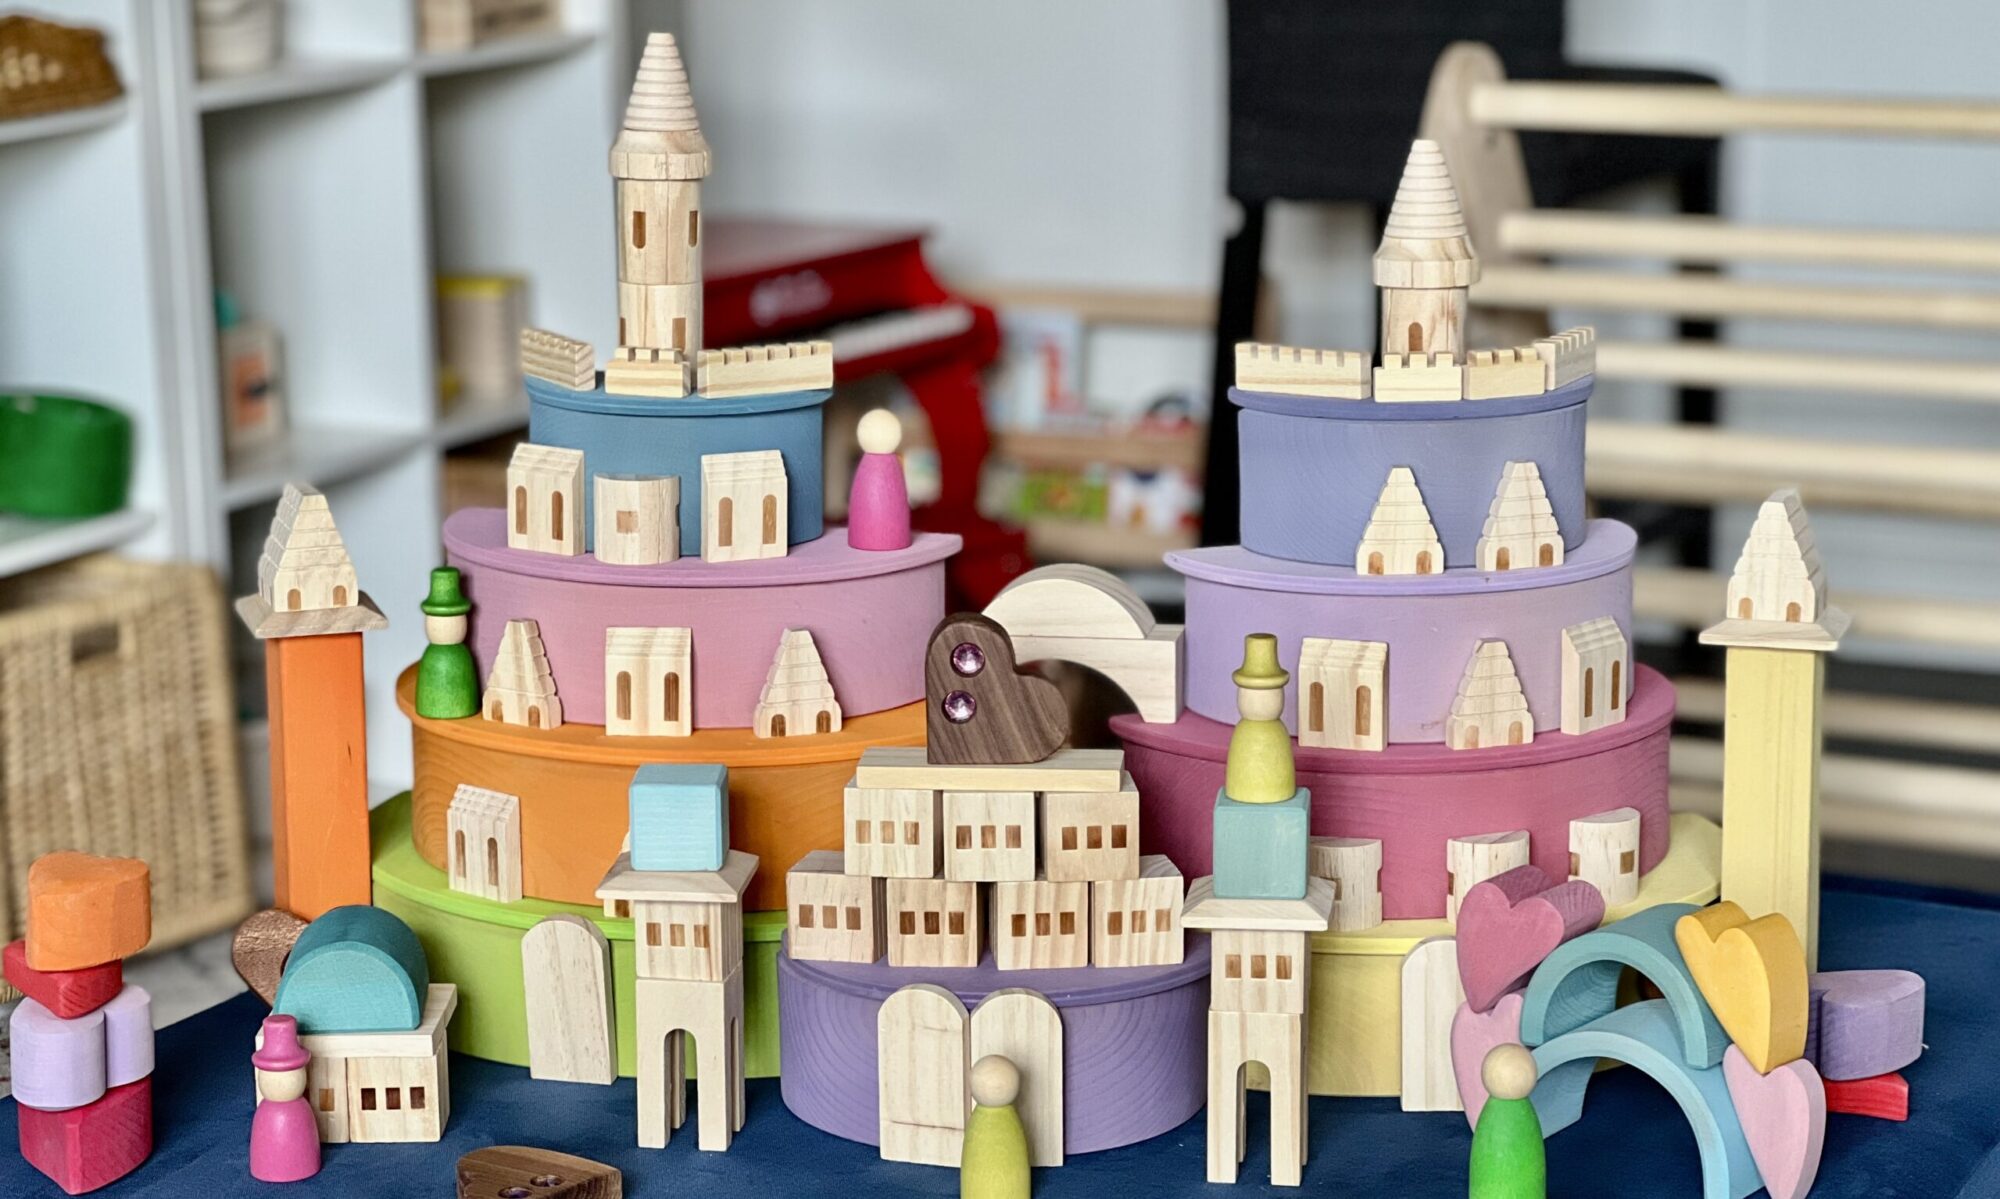
It’s time for a Christmas sensory activity today. We have been so busy with Christmas outings and activities we haven’t done a lot of sensory play this month.
The table was all set up and ready to go this morning, so the kids could start playing as soon as they came downstairs.
Homemade sensory mix, green tree board from Birch and Bark Natural Wood, tree plate from The Creative Mix Shop, gem block light bulbs from Highway to Railway, acrylic light bulbs and ornaments from Eye Spy Club, bells from Dollarama
I didn’t have the budget for a fancy Christmas sensory mix this year, so I made one using food dye, acrylic paint, pasta and chick peas. See here for more information on how I made it.
The elf was also waiting with his own tiny sensory set-up.
Both kids had a wonderful time tinkering with this set up today. We will leave it out for a few more days or until too much of the sensory mix ends up on the floor.
Today’s activity is also a gift to my husband and I. Tonight the kids are going to have a Christmas Cheer Bath. Anything that gets the kids excited about going upstairs and getting in the bath at the end of the day is a win for us. Our kids usually love being in the bath, but never want to get in it. A new and exciting bath surprise helps make the transition easier. With emotions running high the week before Christmas, we could use a little “easier” tonight.
The elf is is also getting into a Christmas spa mood and will be waiting for the kids in the bathroom tonight.
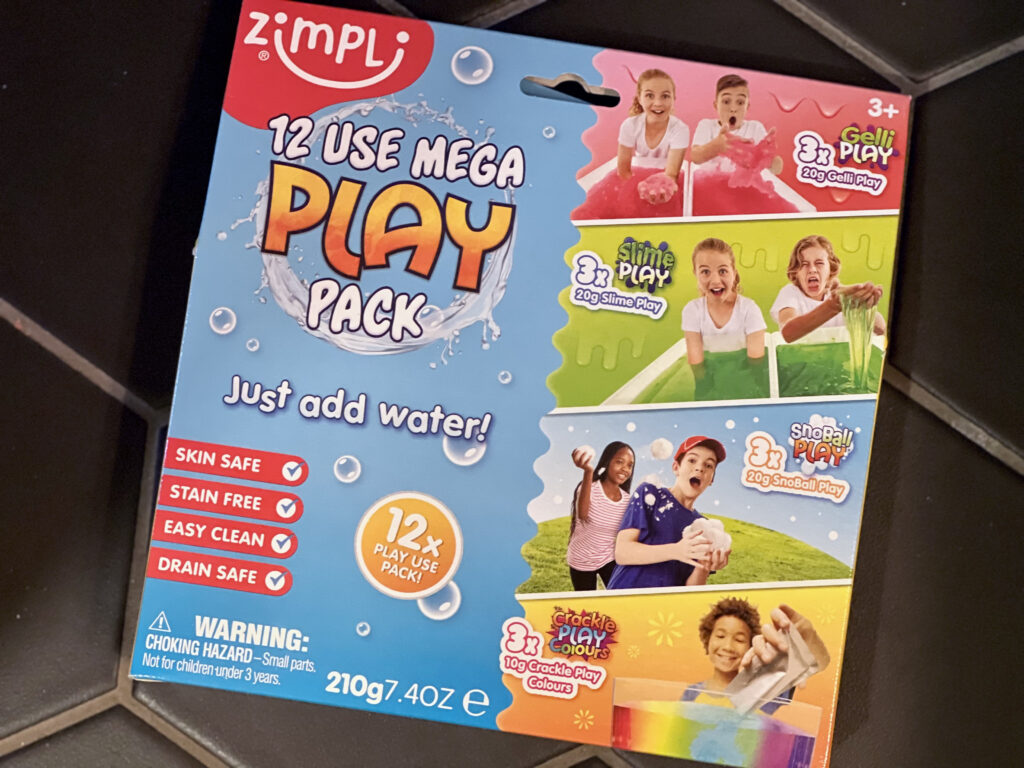
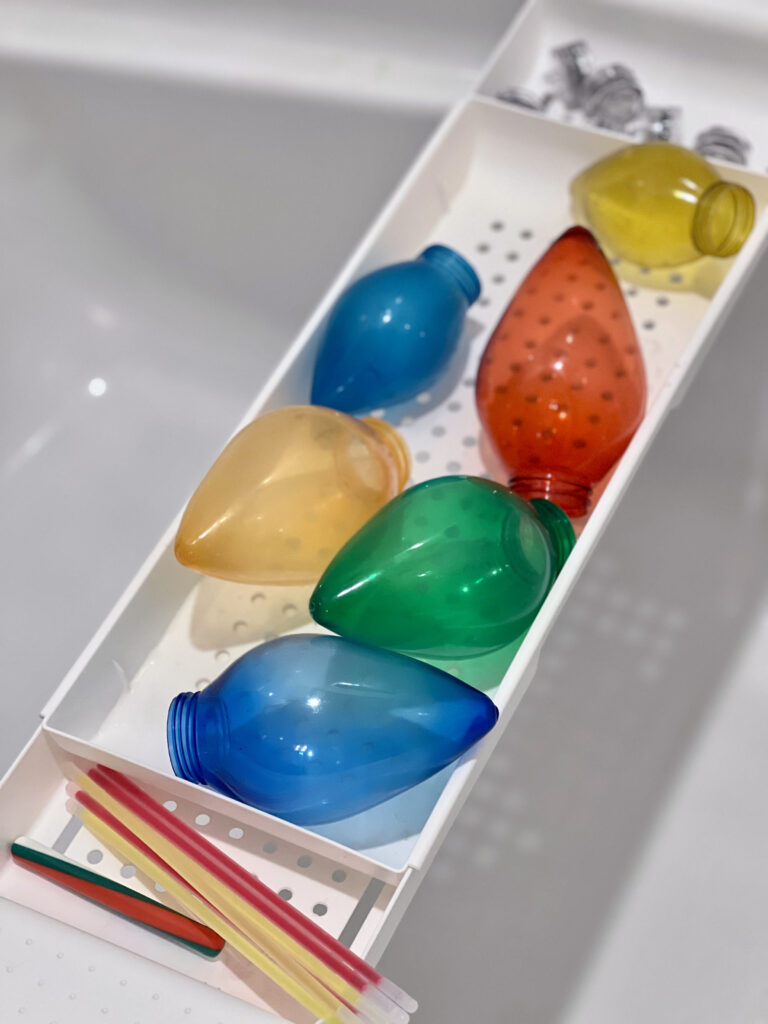
The Christmas Cheer bath will include something new we’re trying: Crackle Play Colours (purchased from Sewing Seeds play). It’s a package you empty into the bath and it’s supposed to have a variety of colours and make crackling sounds. There will also be some plastic light bulbs to scoop water and light sticks and light pucks to add a little extra excitement. It looks like lots of fun.
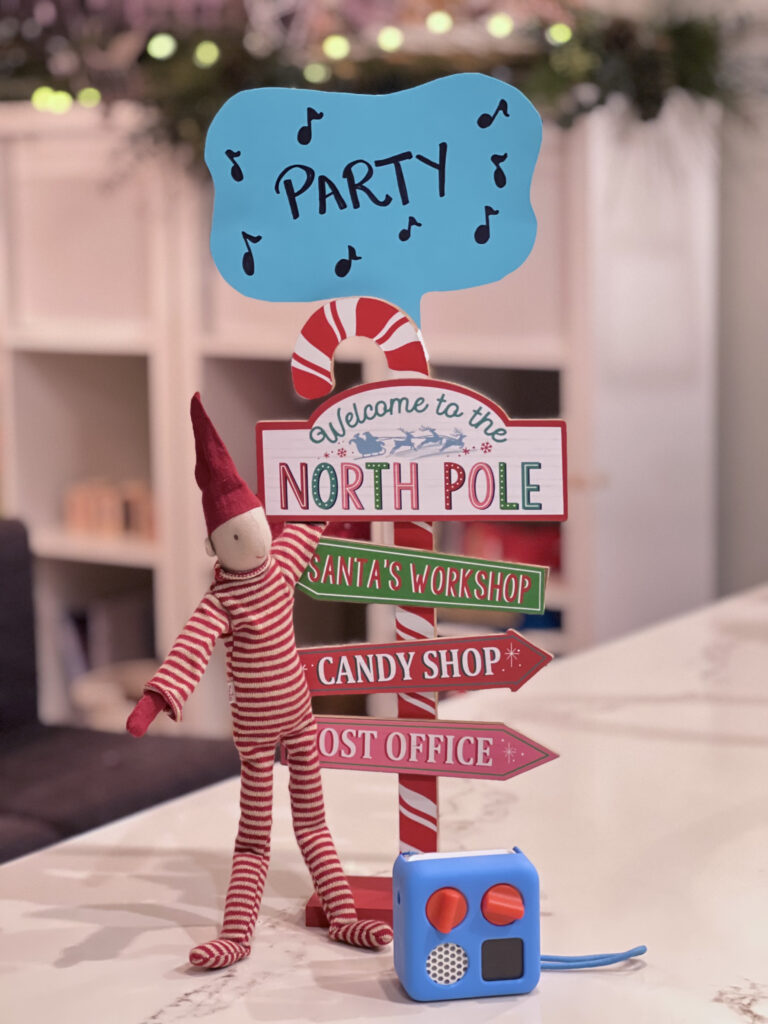
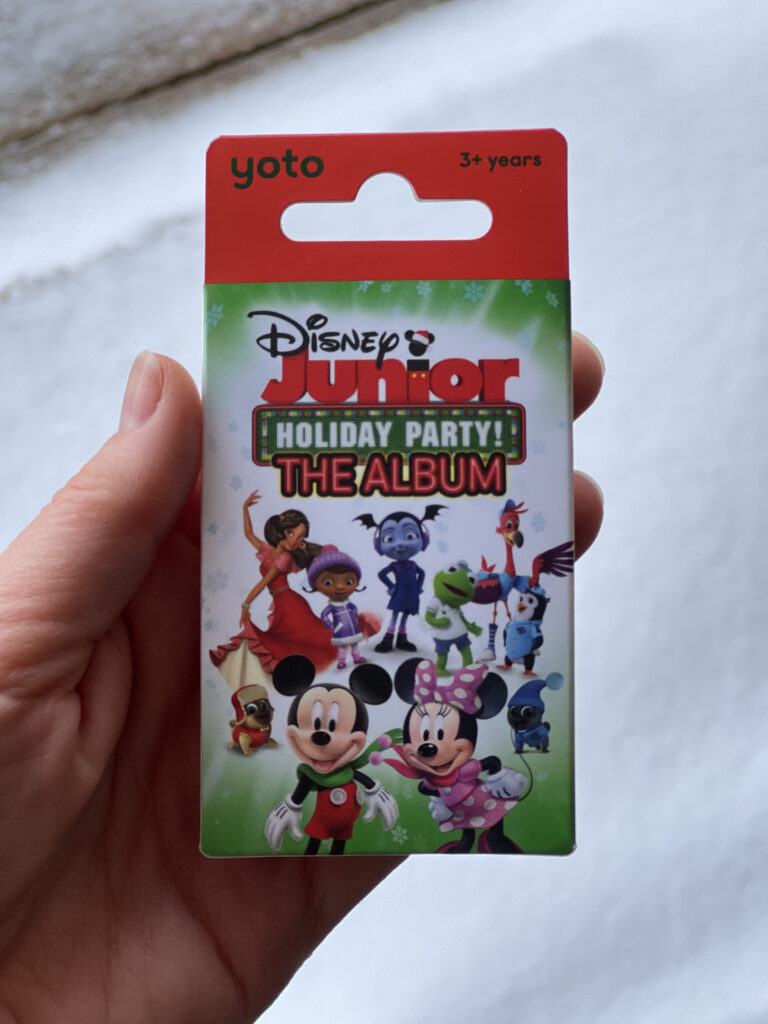
We had a dance party this morning with some new Christmas music. The elf was all ready for a party in the morning and the gift in the Maileg Santa Advent Calendar was a new yoto card: Disney Junior Holiday Party! The Album.
The party started off a little rough, with lots of fighting over who the new yoto card belongs to, but thankfully became more cheery after some breakfast. The kids enjoyed the new music card and wanted to listen to it on repeat this morning. I think it will add some fun Christmas spirit to the house this week.
Thank you to my December self for choosing a simple activity for Monday morning, on the week before Christmas.
The elf arrived in the morning with a basket of snowballs and a sign challenging them to a snowball fight.
Wooden sign from Eye Spy Club, snowballs from Dollarama
When my kids were a little younger, I used to stuff a few of these snowballs in their stockings to help fill them up. As a result, we’ve amassed a small collection. Just enough so the kids could burn off a bit of energy this morning with a snowball fight.
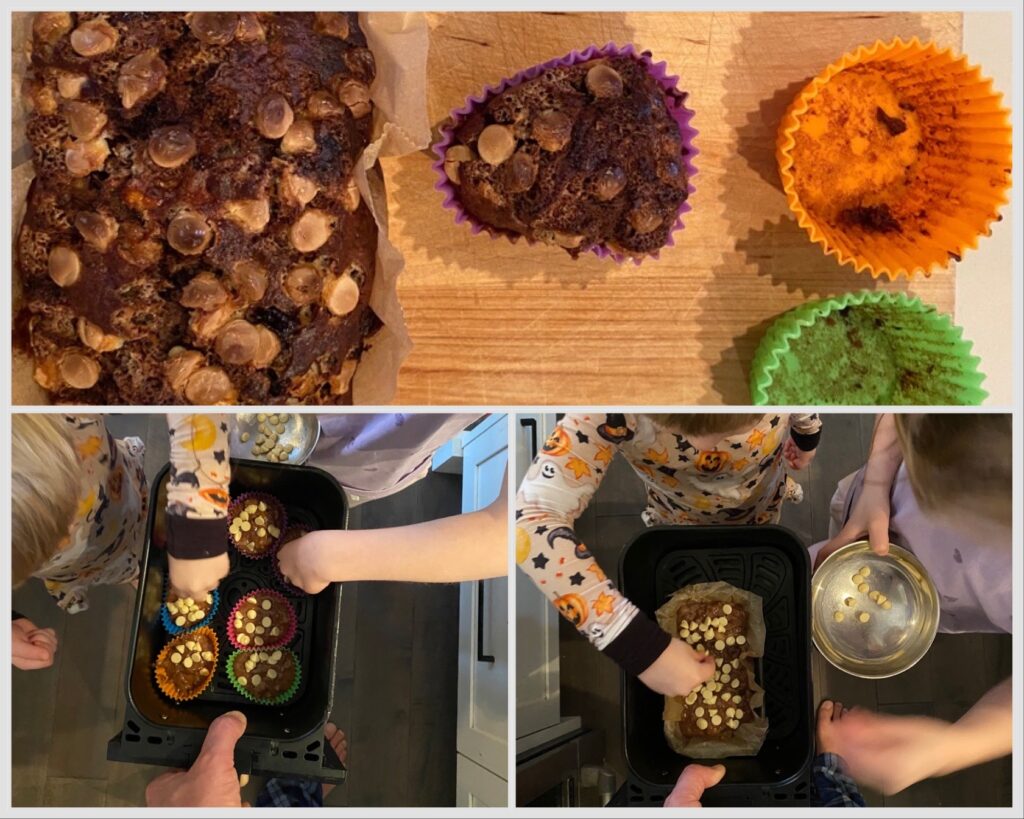
Made the house smell great. Add cocoa and a little extra sugar to typical banana bread recipe. Top with white chocolate chip and toss into the air fryer.